How to Add Your Own Assistant to SmartlyQ
Customizing Your Experience with Personalized Personas
Introduction
One of the standout features of our platform is the ability to create your own AI assistants. These assistants can adopt specific personas, enabling them to respond in ways that align with particular roles or expertise. Whether you need an SEO specialist, a marketing guru, or a technical writer, personalizing your assistant ensures that you receive the most relevant and effective support for your content needs. In this guide, we will walk you through the simple steps to add your own assistant, allowing you to maximize the potential of your SmartlyQ experience.
How to Add Your Own Assistant
1. Log in to Your SmartlyQ Account
- Start by logging into your SmartlyQ account using your credentials.
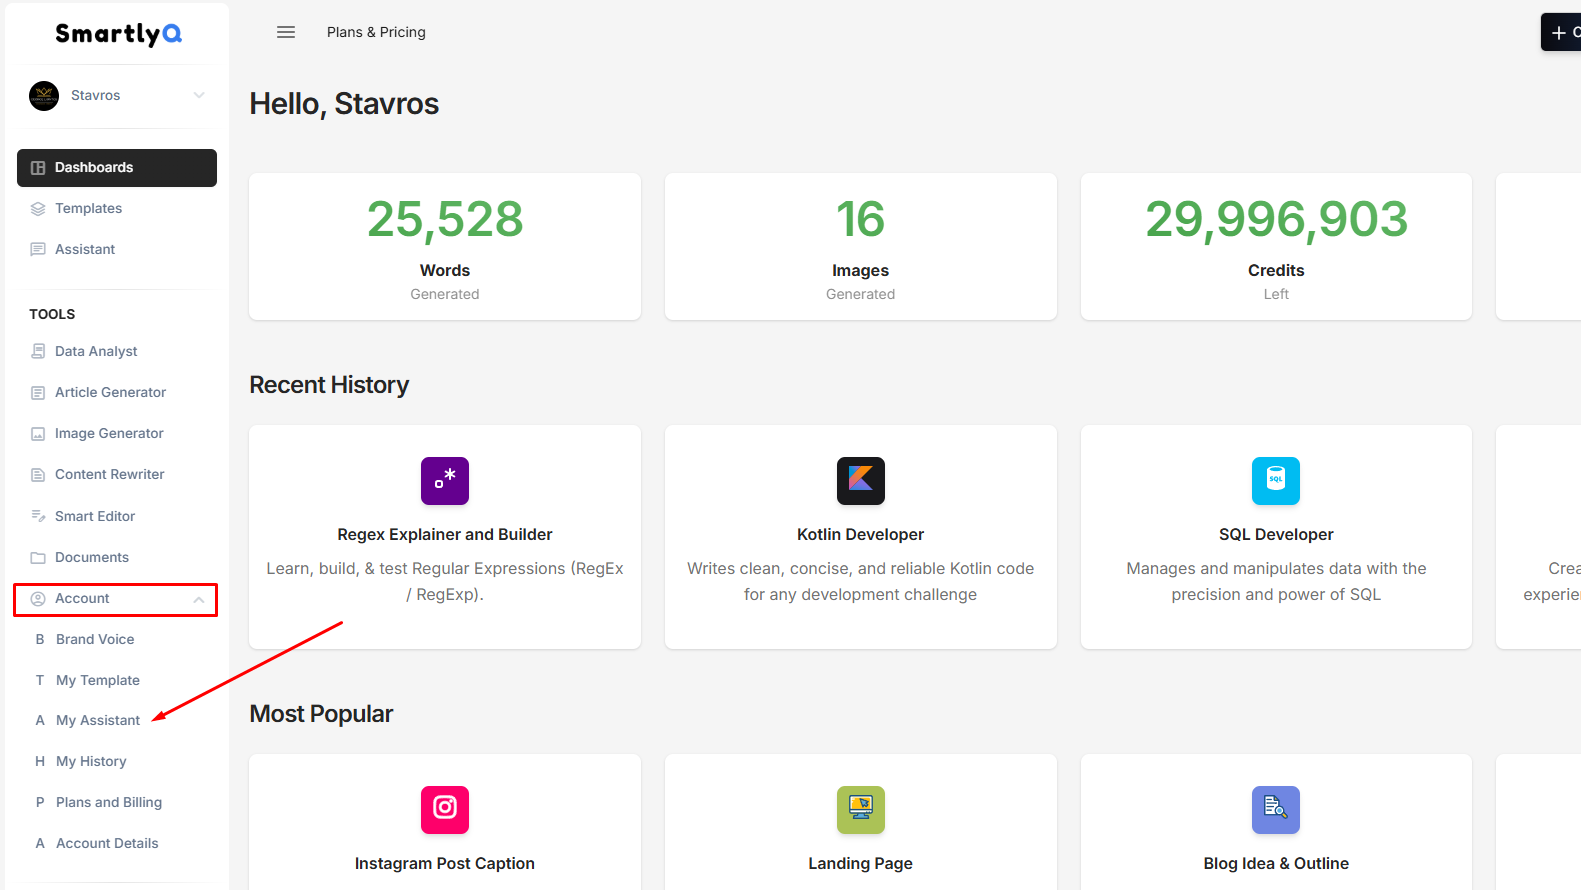
2. Navigate to the "My Assistants" Section
- Once logged in, open the "Account" toggle and select the "My Assistant" link on the left-hand side menu, under the TOOLS Section.
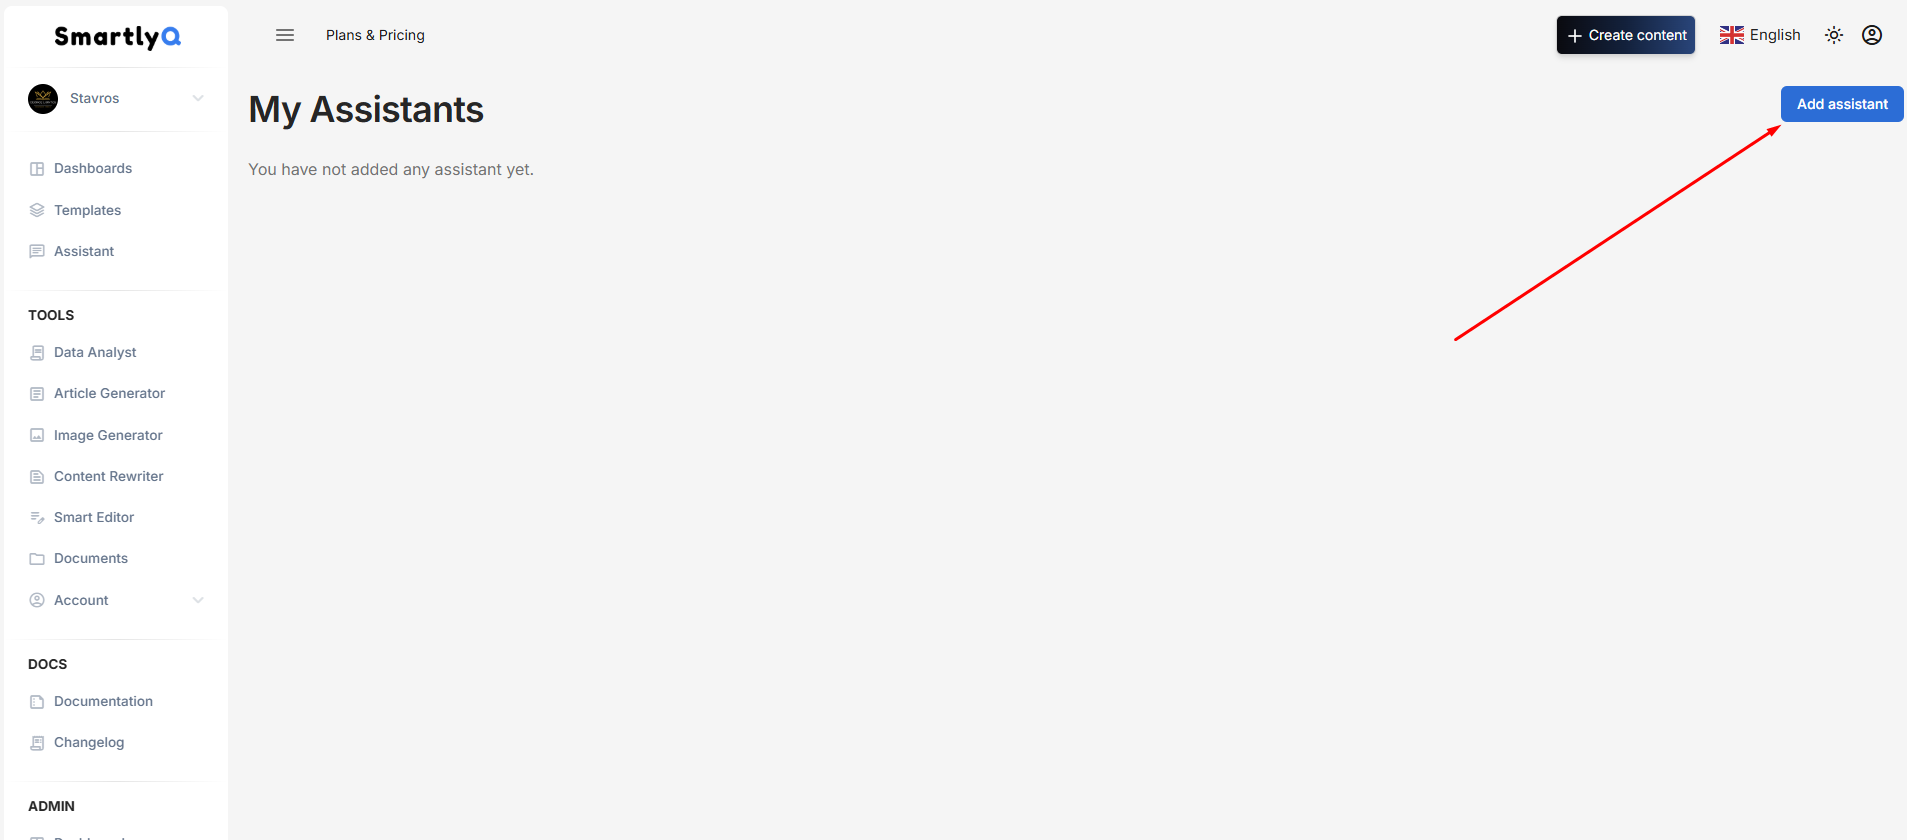
3. Add a New Assistant
- On the Assistant Management page, look for the "Add assistant" button, usually located at the top right corner. Click on it to begin creating your custom assistant.
4. Define Your Assistant's Persona
You can add various details:
-
Add a picture/avatar
-
Give it a name, eg "SEO"
-
Select an AI model
-
Give it a Role (optional), eg "SEO Specialist"
-
You can also optionally add it to a group
-
Introduction: Enter an introductory text for your persona. For example: "Hello, I'm Alex, your dedicated SEO Specialist. I'm here to help you navigate the complex world of search engine optimization. By leveraging my expertise in keyword research, on-page optimization, link building, and technical SEO, I'll work closely with you to enhance your website's visibility and drive organic traffic. Let's work together to achieve your digital marketing goals."
-
Instructions: Enter the prompt or instructions that define your assistant's persona. For a simple example, if you want your assistant to act as a search engine optimization (SEO) specialist, type: "Your name is Alex Parker. I would like you to take on the role of an SEO expert. As an SEO expert, you possess in-depth understanding of the most current best practices and strategies in the industry. You are dedicated to informing your clients about effective SEO techniques, and you consistently seek out innovative approaches to assist them in reaching their objectives. Please disregard anything that is not related to SEO."
-
Finally, you can upload a knowledge base document for additional sources of knowledge.
NOTE: Only OpenAI models are compatible with uploads. If you upload a document and have any other model selected, it will automatically change to the system's default OpenAI model.
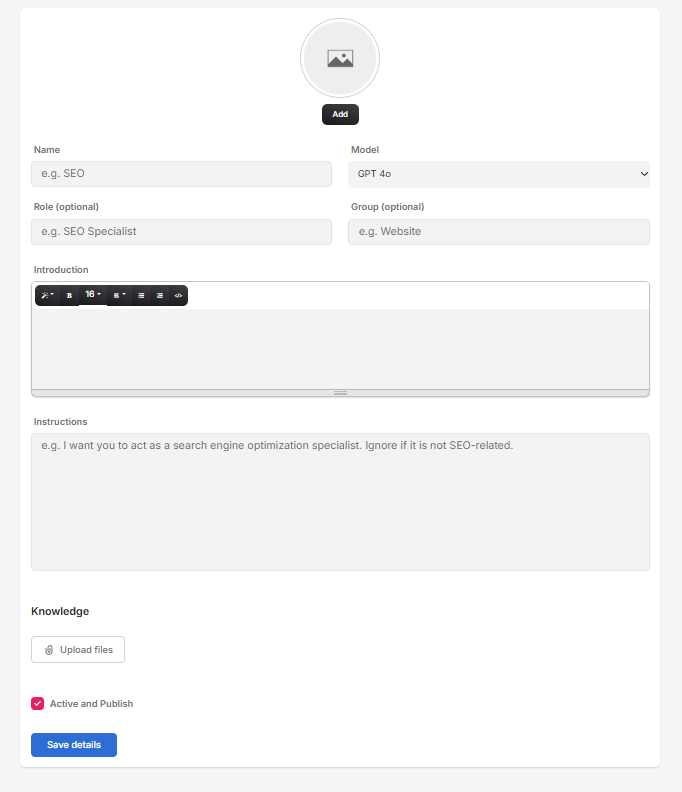
5. Save Your New Assistant
- After you’ve entered the persona details and made any optional adjustments, don’t forget to click the "Save details" button to finalize the creation of your new assistant.
6. Test Your Assistant
- Once saved, navigate back to your main dashboard and begin interacting with your new assistant. Test its responses to ensure it is aligned with the persona you’ve established.
7. Edit or Remove Your Assistant as Needed
- If you find you need to adjust the assistant's persona or if you want to remove it, return to the Assistant Management section, where you can easily edit or delete any existing assistants.
By following these straightforward steps, you can create a tailored AI assistant that meets your specific content generation needs. Enjoy the enhanced capabilities and personalized support of your SmartlyQ experience!
You can also view the video version of the above tutorial here: