How to Add Your Own LeadConnector Integration to SmartlyQ
Connect Your LeadConnector Subaccount to SmartlyQ with just a few clicks!
You now have the ability to create your content inside SmartlyQ and then post it on your LeadConnector subaccount's blog with just a couple of clicks!
Integrate your LeadConnector Account
1. Log into SmartlyQ:
- Go to SmartlyQ and log in to your account.
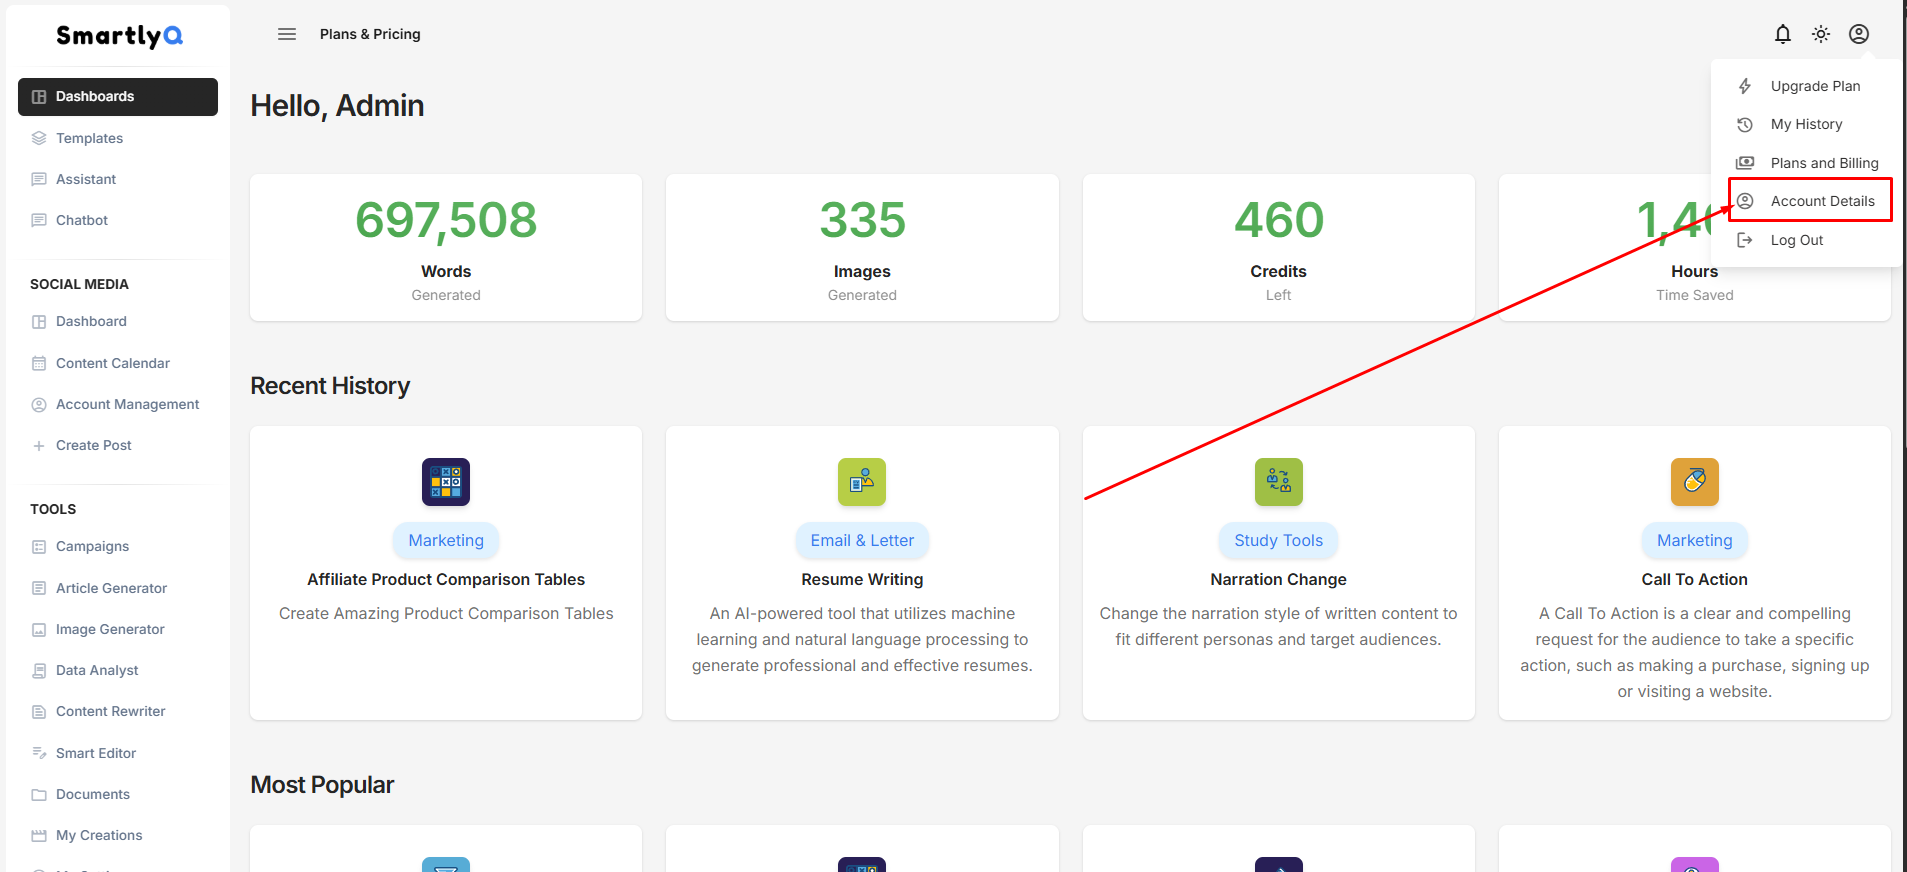
2. Navigate to Avatar Icon > Account Details**:**
- Look for the Avatar icon on the top right corner. Click on it and select the "Account Details" option..
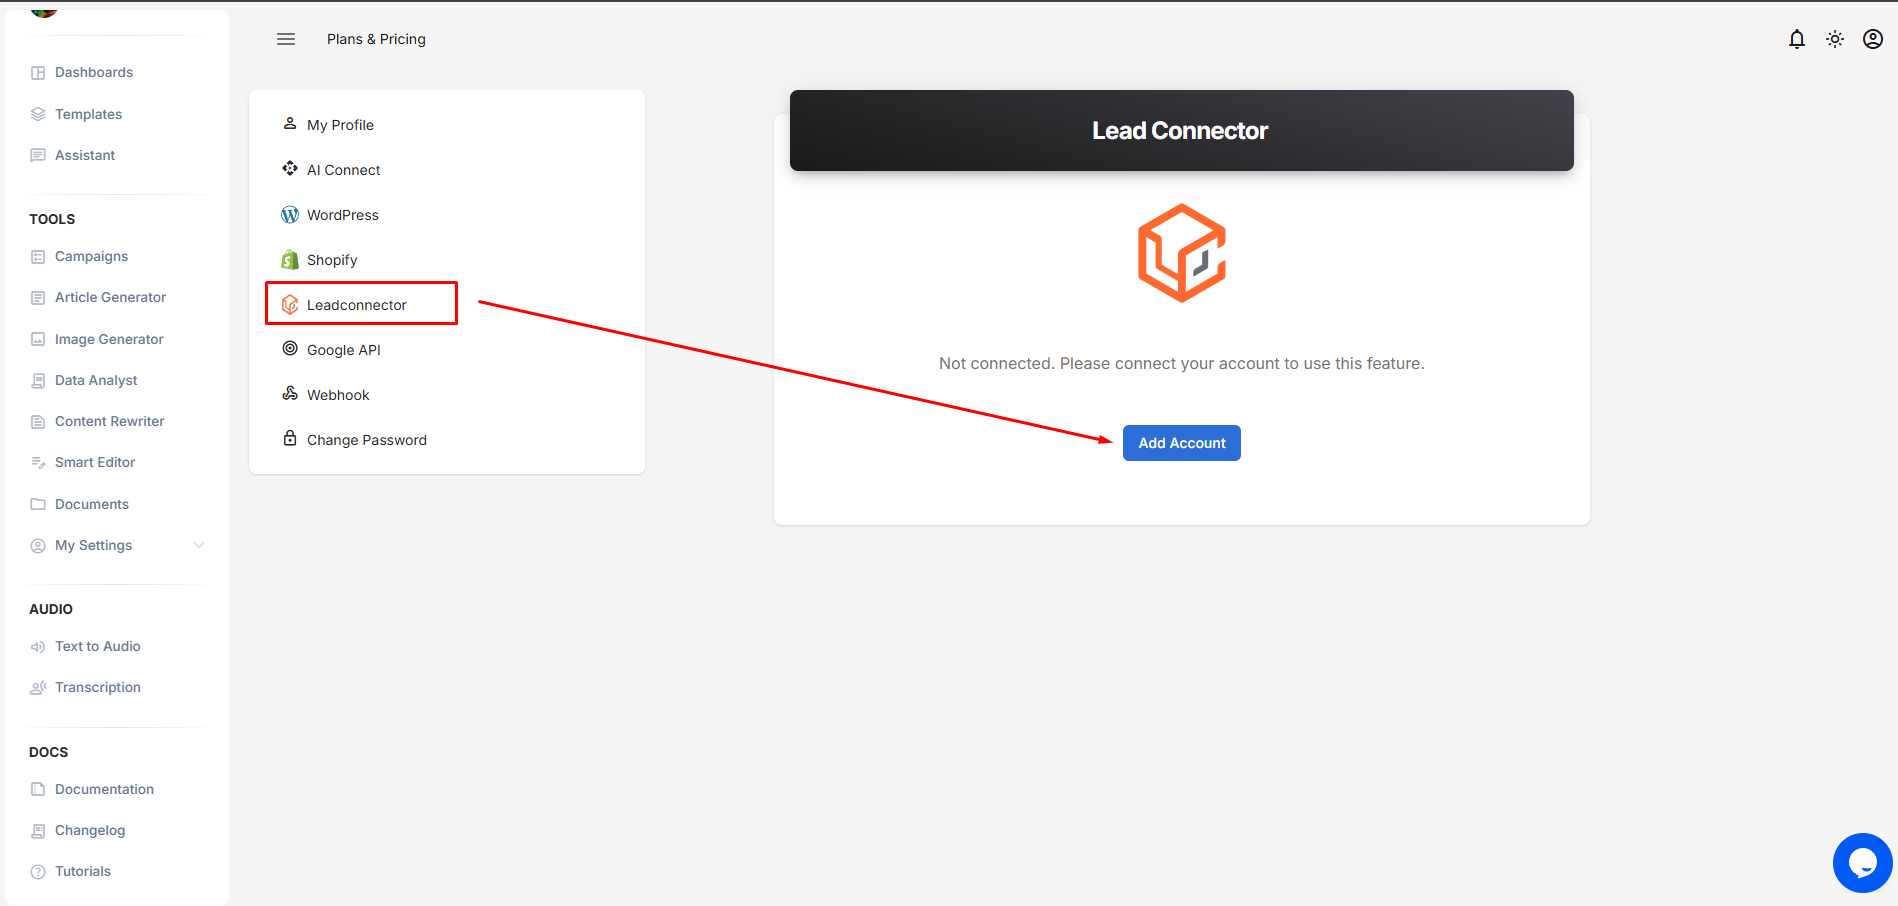
In the next screen, select "LeadConnector" from the left hand menu and then press the button "Add LeadConnector Account" to initiate the integration process.
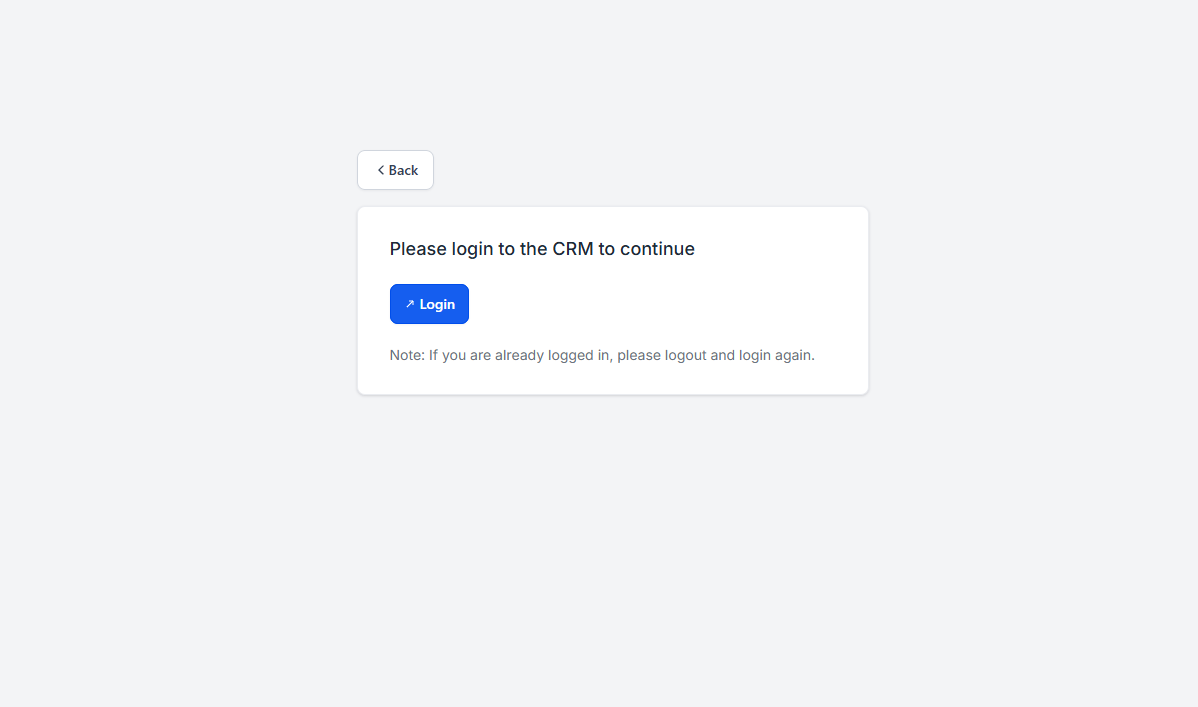
In the next screen, press the "Login" button to login to your GHL account and continue.
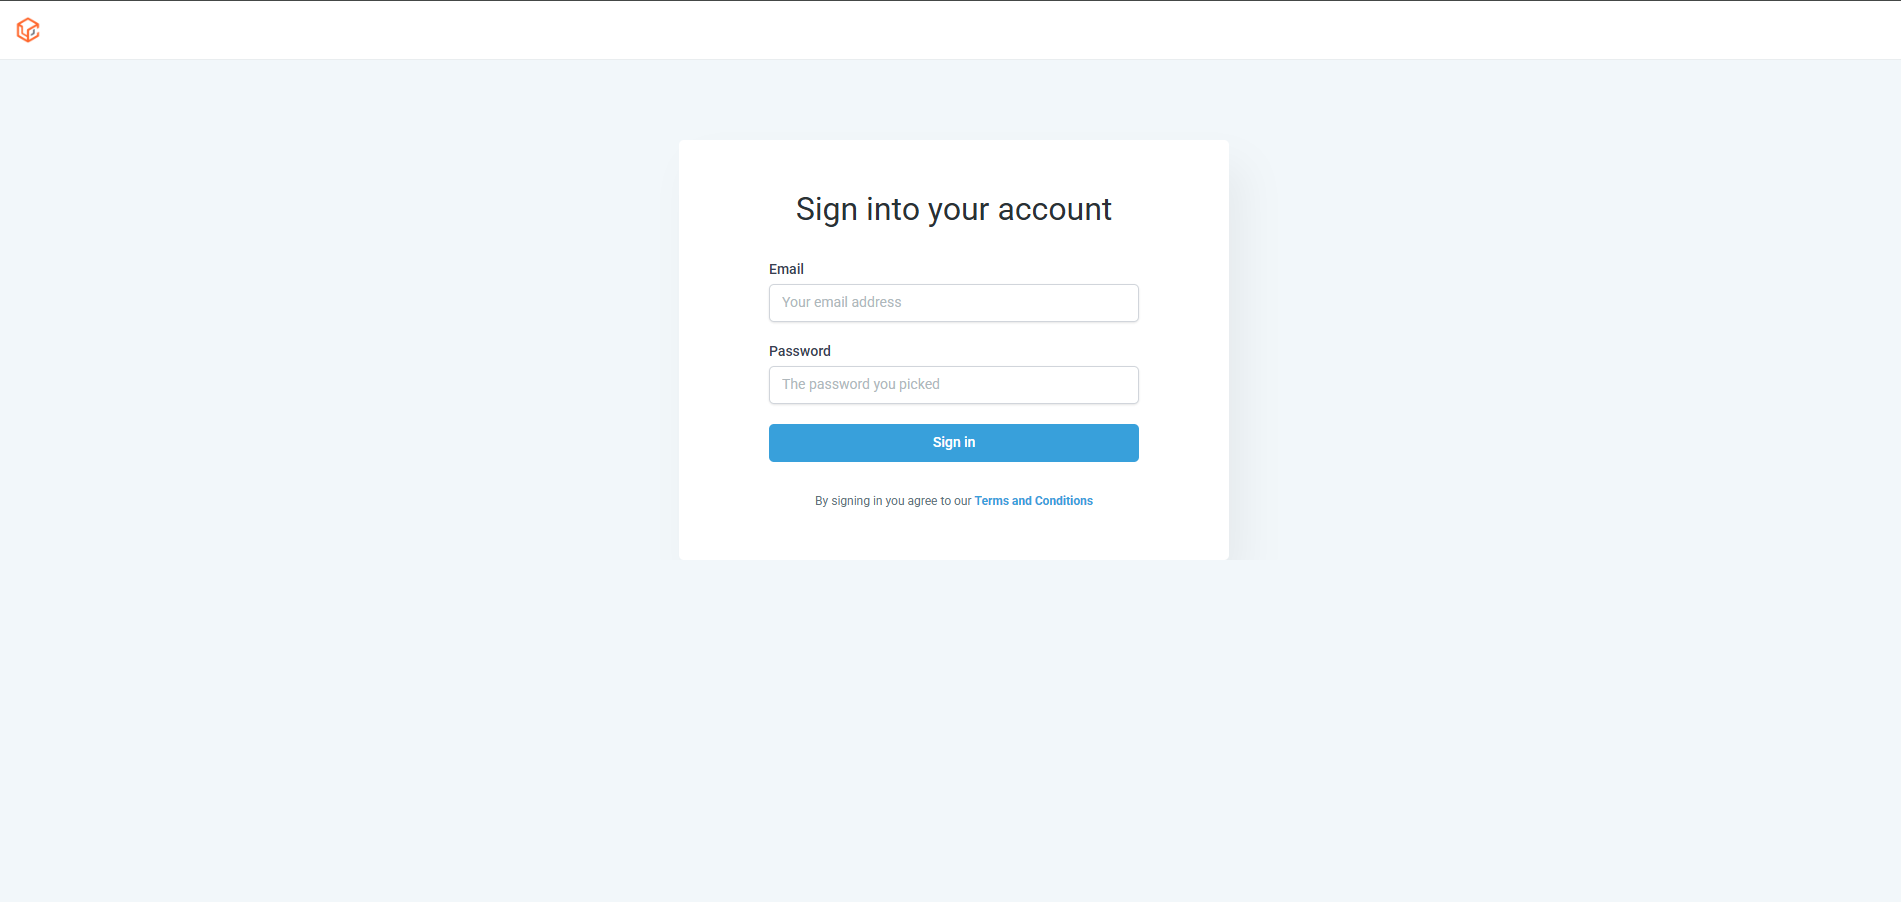
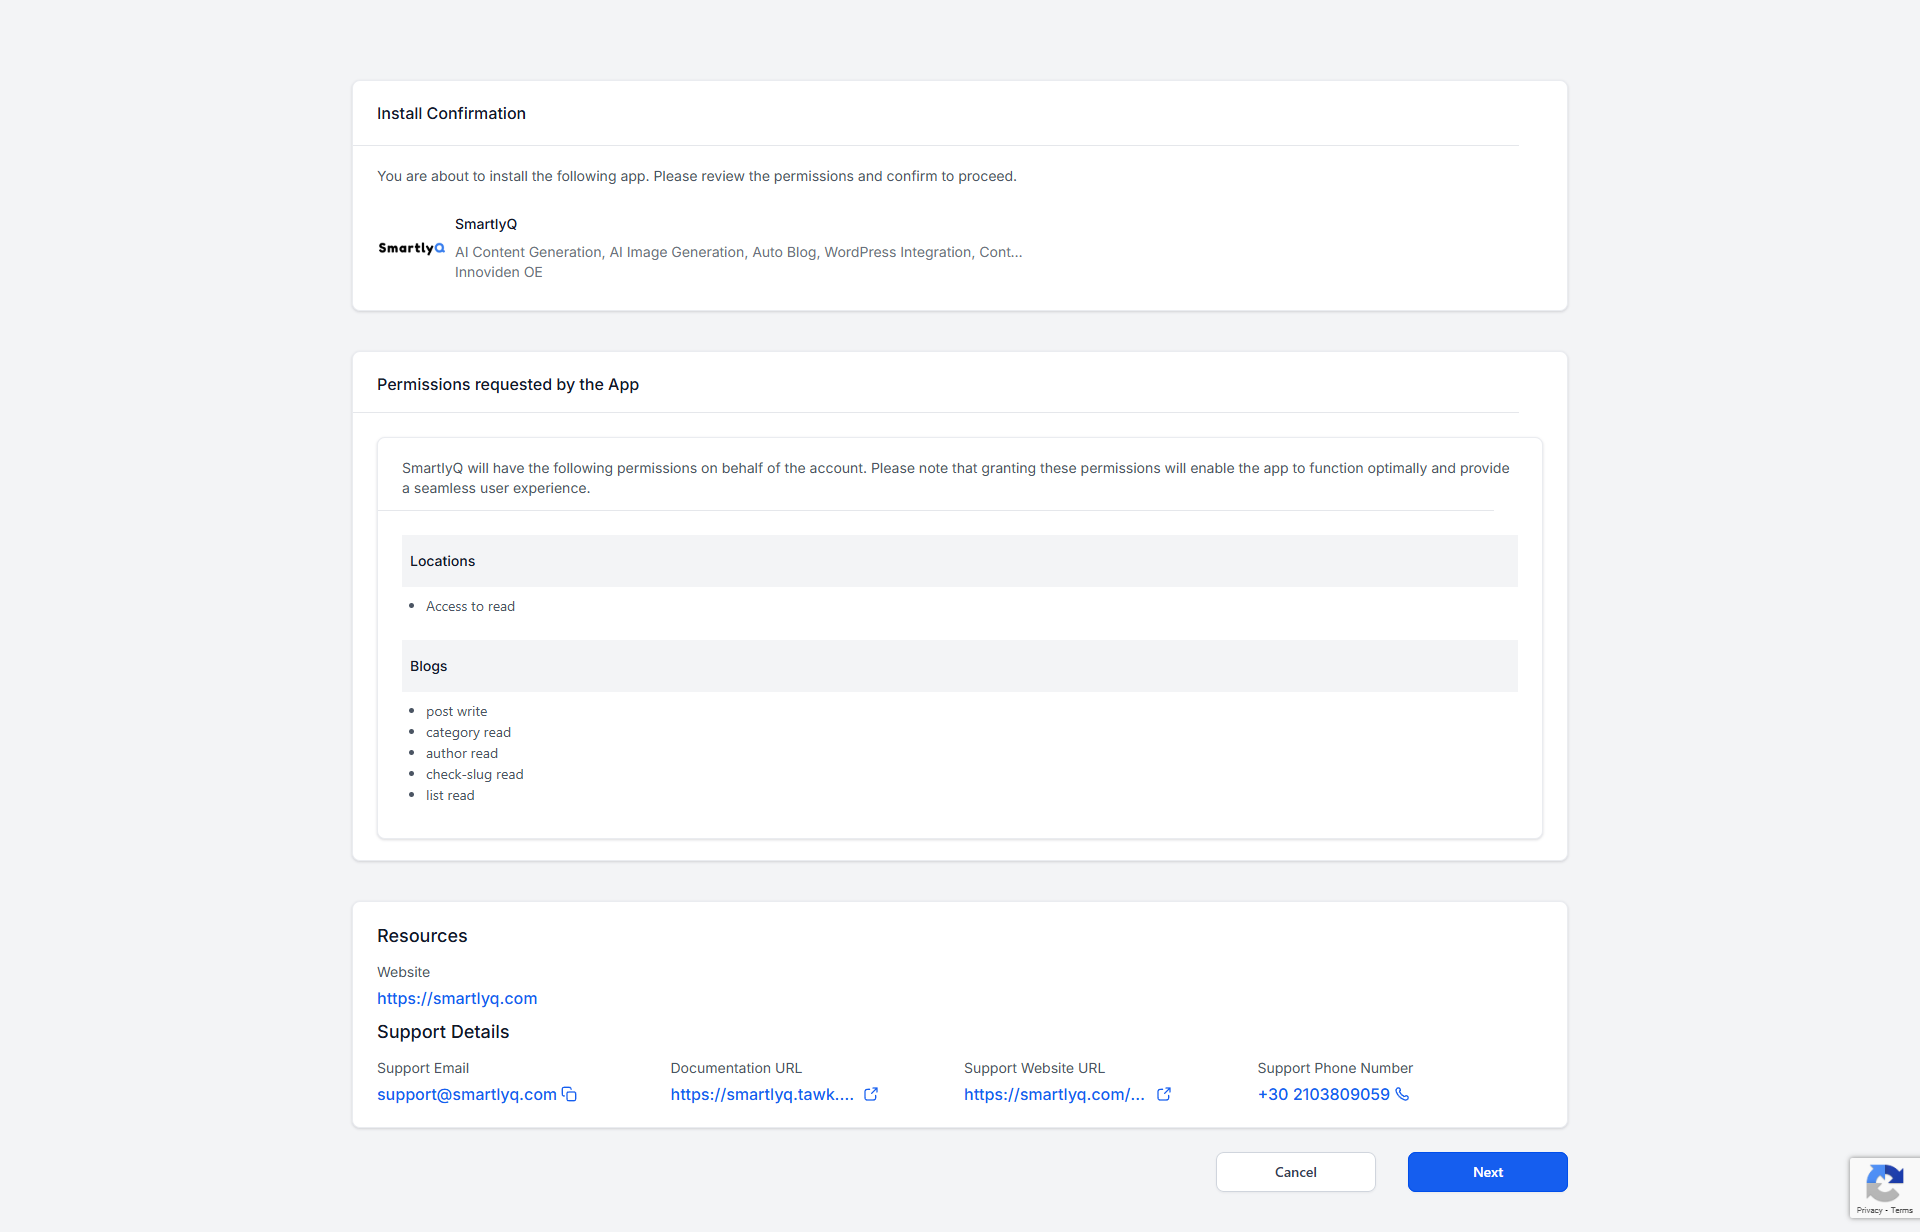
After you login, the next screen is an install confirmation, along with the details of the permissions requested by the App. Press "Next" to continue the integration.
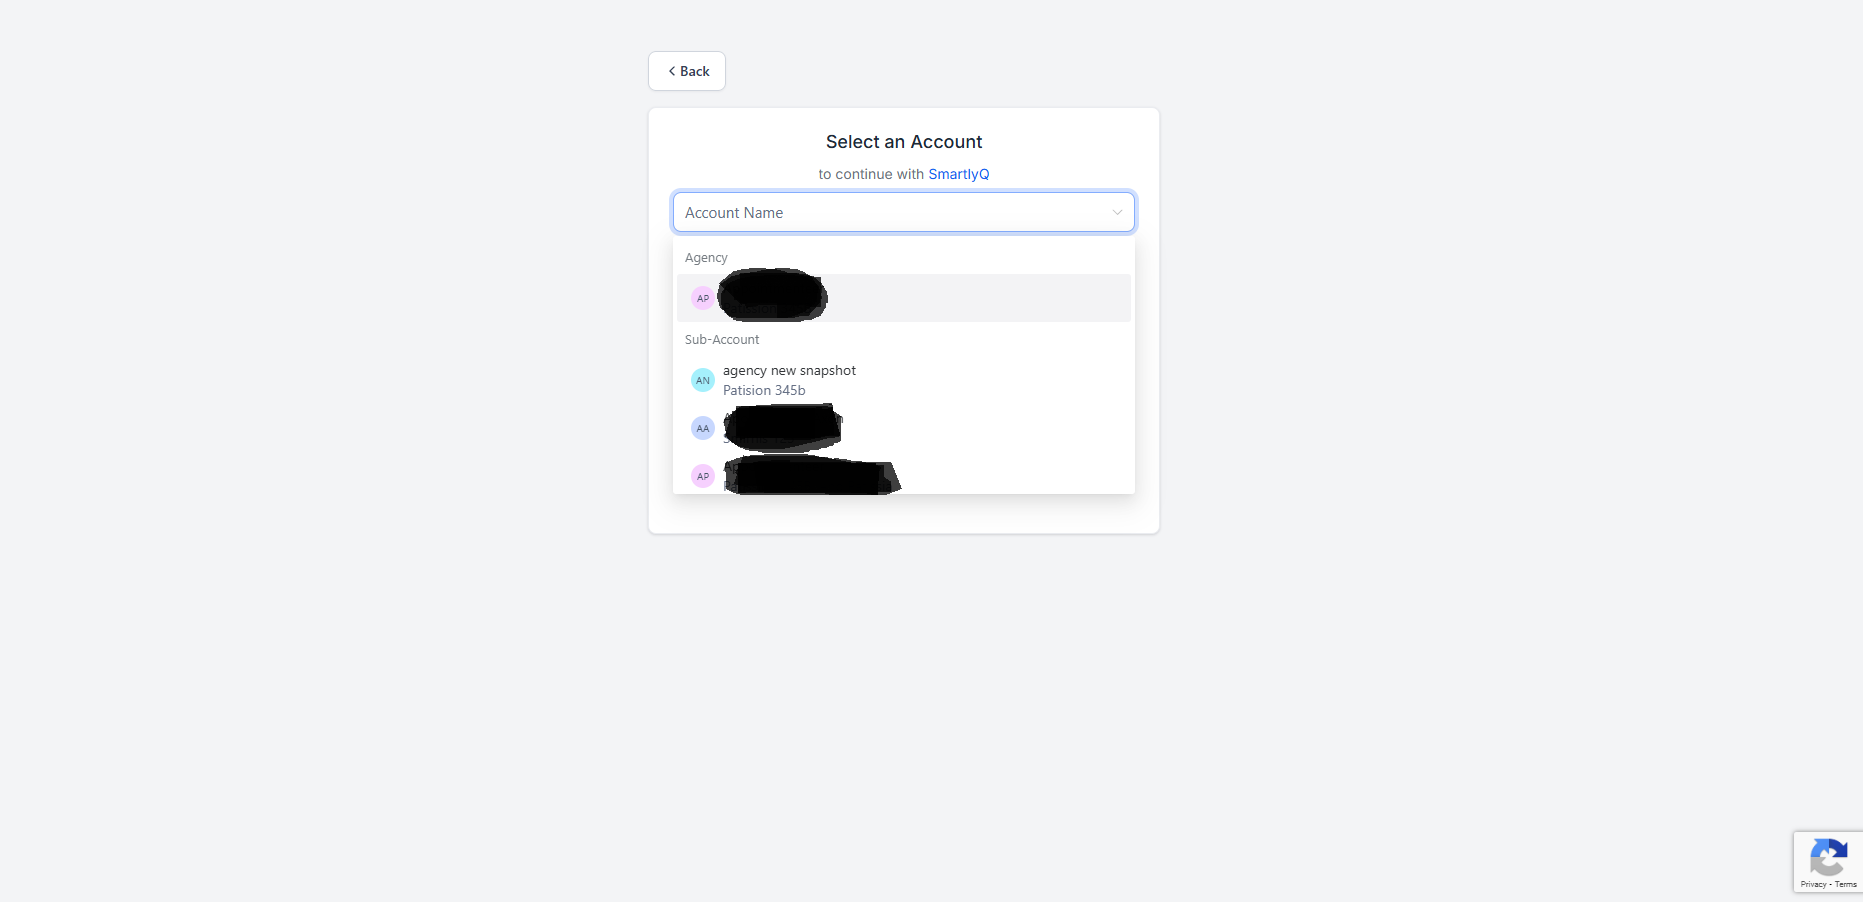
In the next screen, you must select a subbaccount to install the SmartlyQ App. Select your desired subaccount and you will automatically redirected to the SmartlyQ Integrations screen.
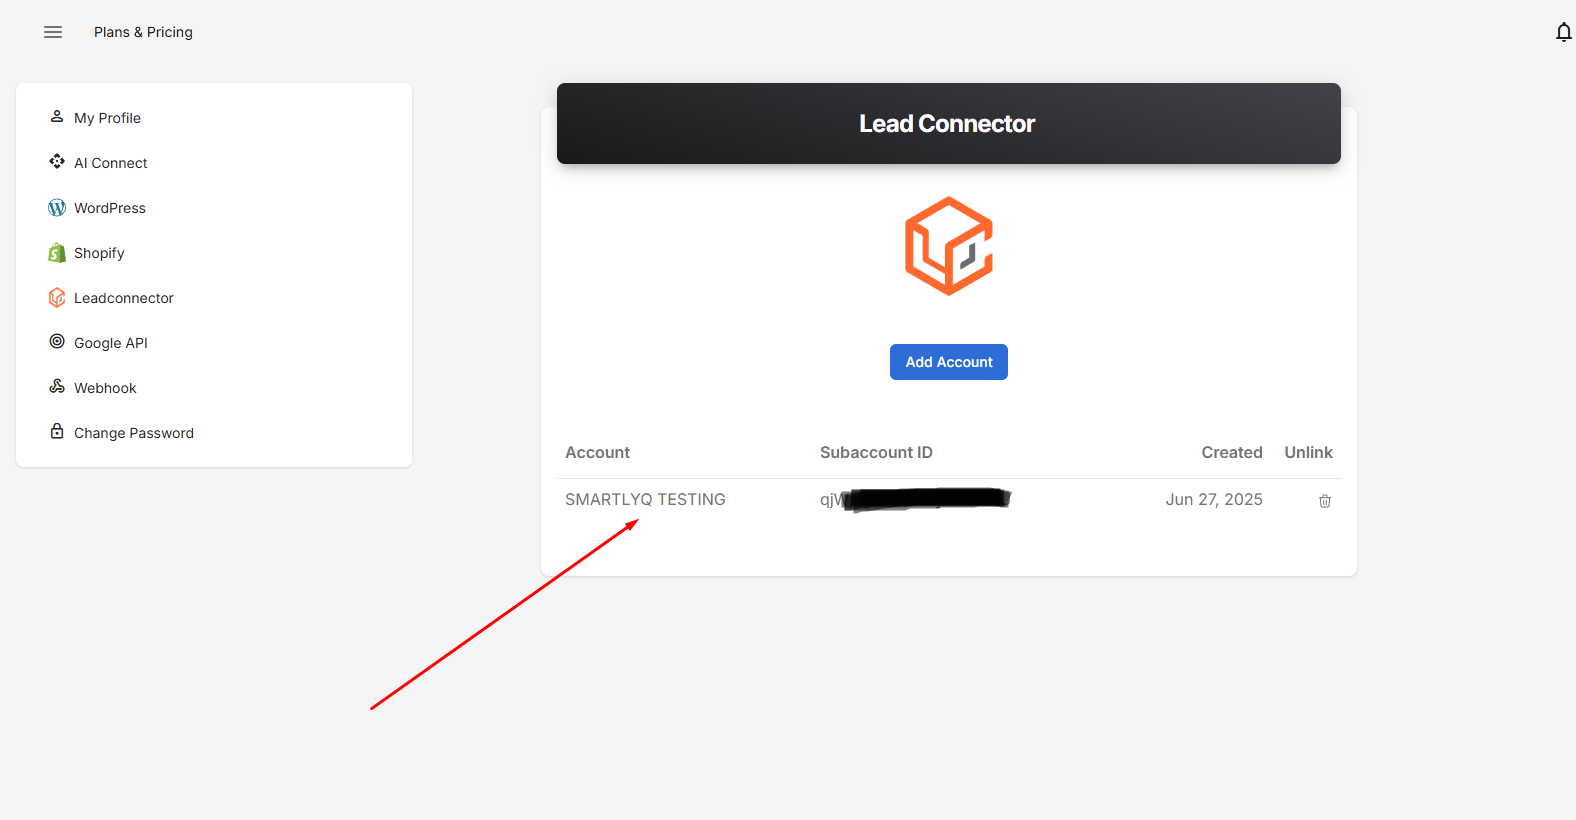
And that's it! Now you are ready to start creating content in your LeadConnector subaccount via SmartlyQ!
Removing/Unlinking subaccounts
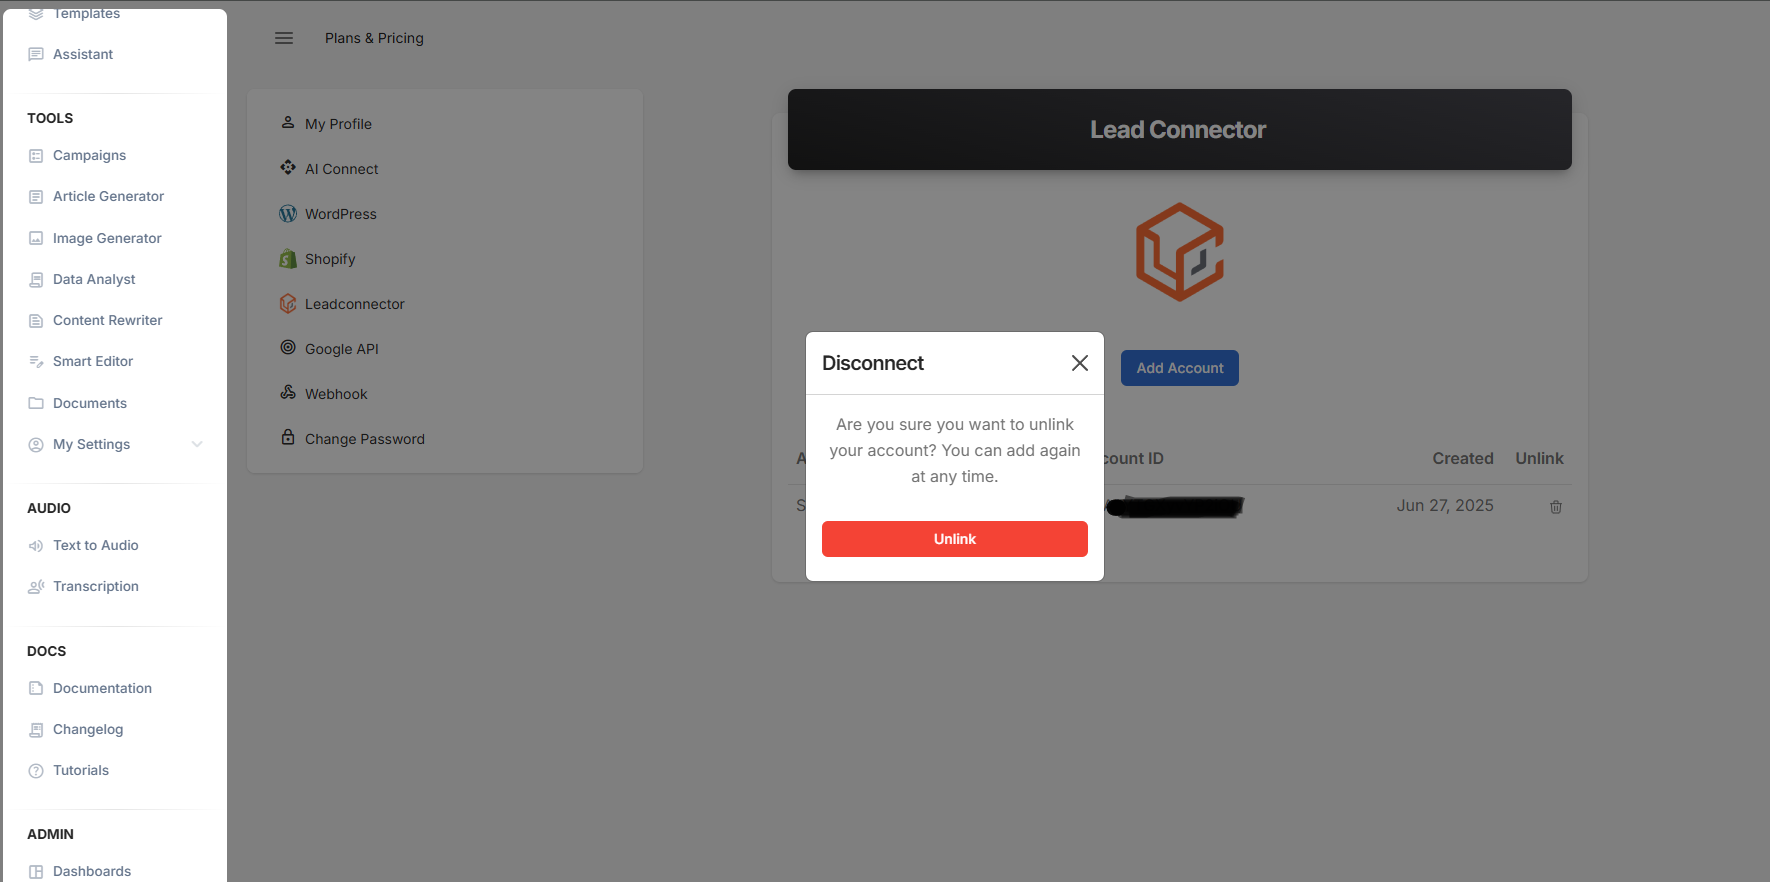
To remove a subaccount integration, simply go to the LeadConnector Integration screen in your Account Details, find the integration you want to unlink and press the trash bin icon next to it:
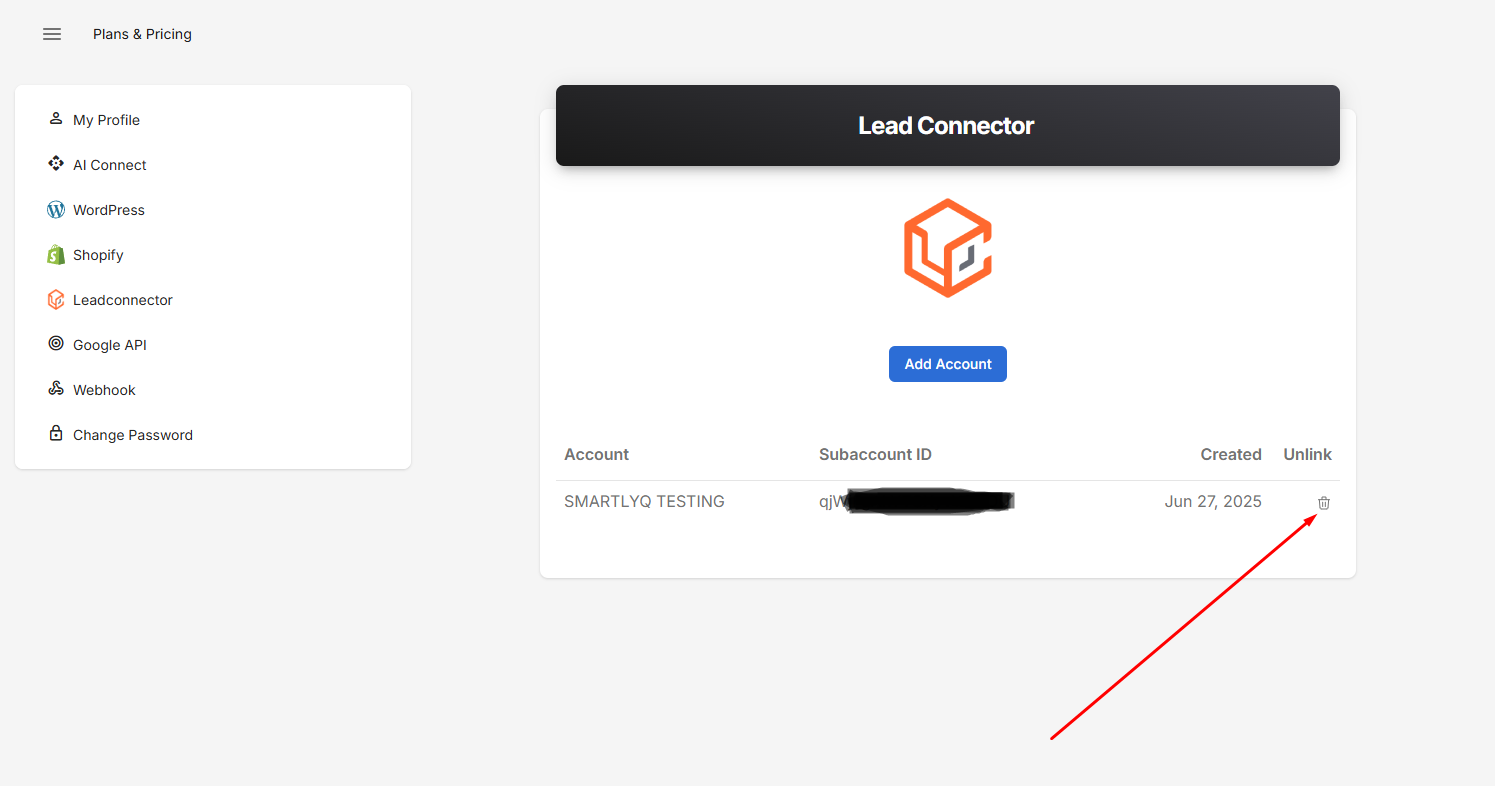
A modal window will appear, asking for confirmation to unlink. Simply press the button and the integration will be removed.
You can also view the video version of the above tutorial here: