How to integrate your zoom account with your SmartlyQ Calendar
Steps to Integrate Your Zoom Account Inside SmartlyQ:
Step 1: Access Calendar Settings
-
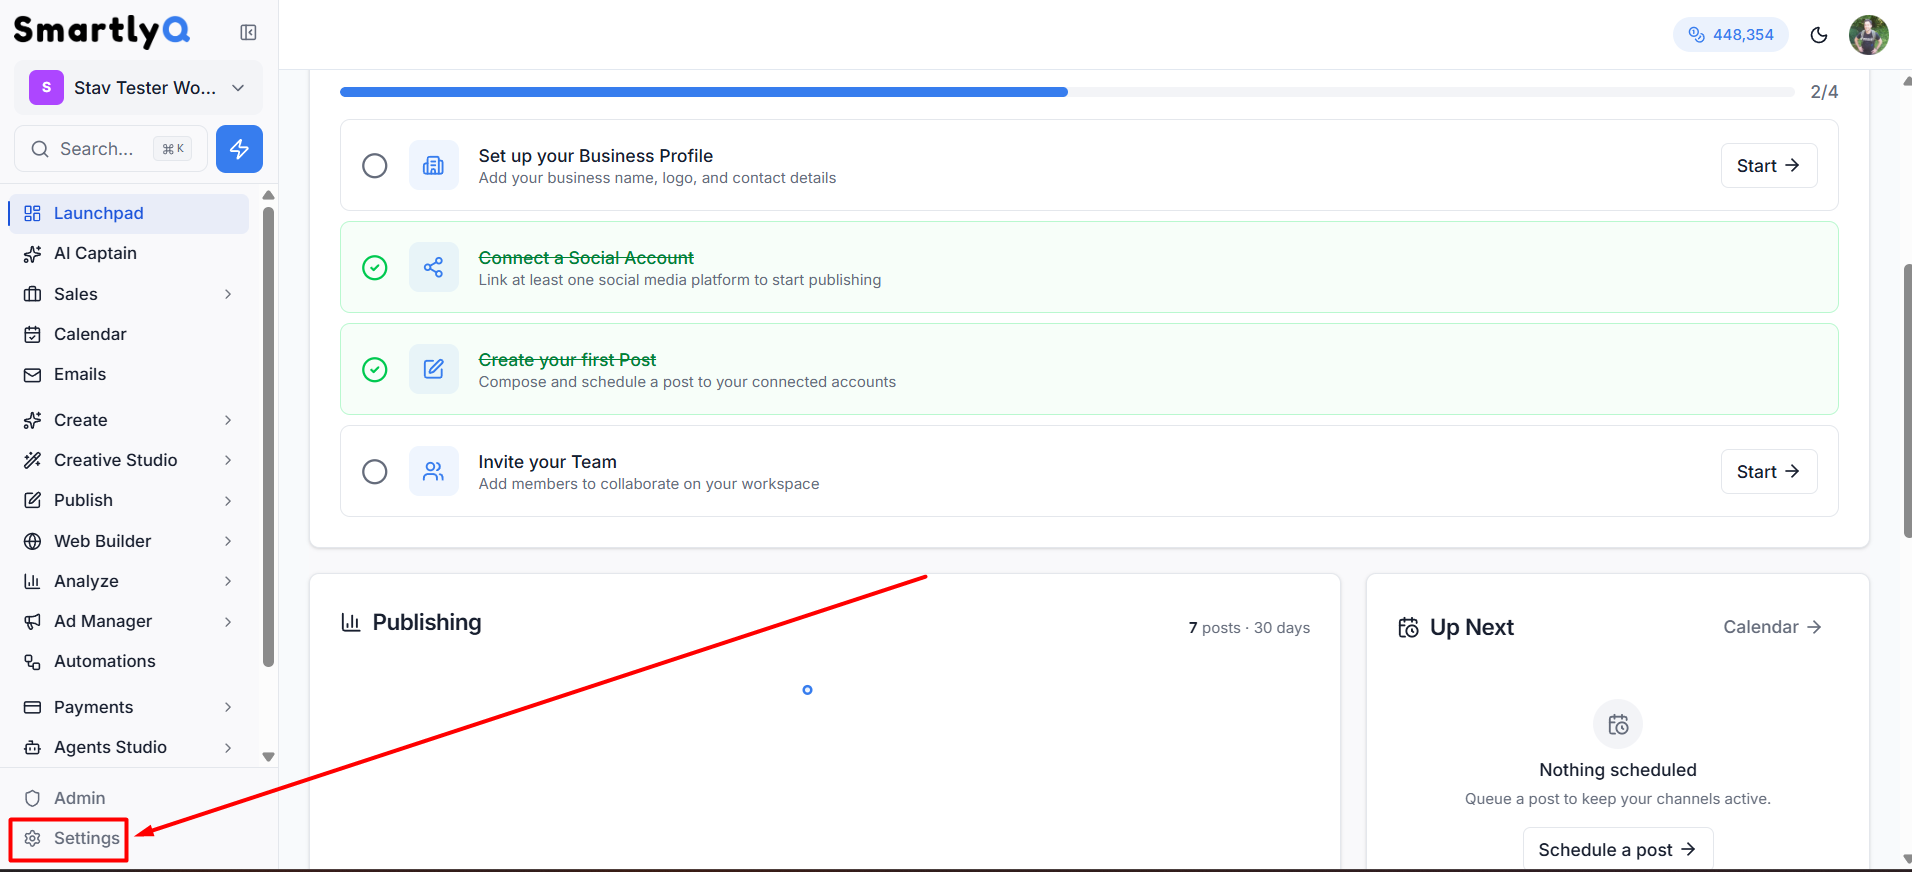
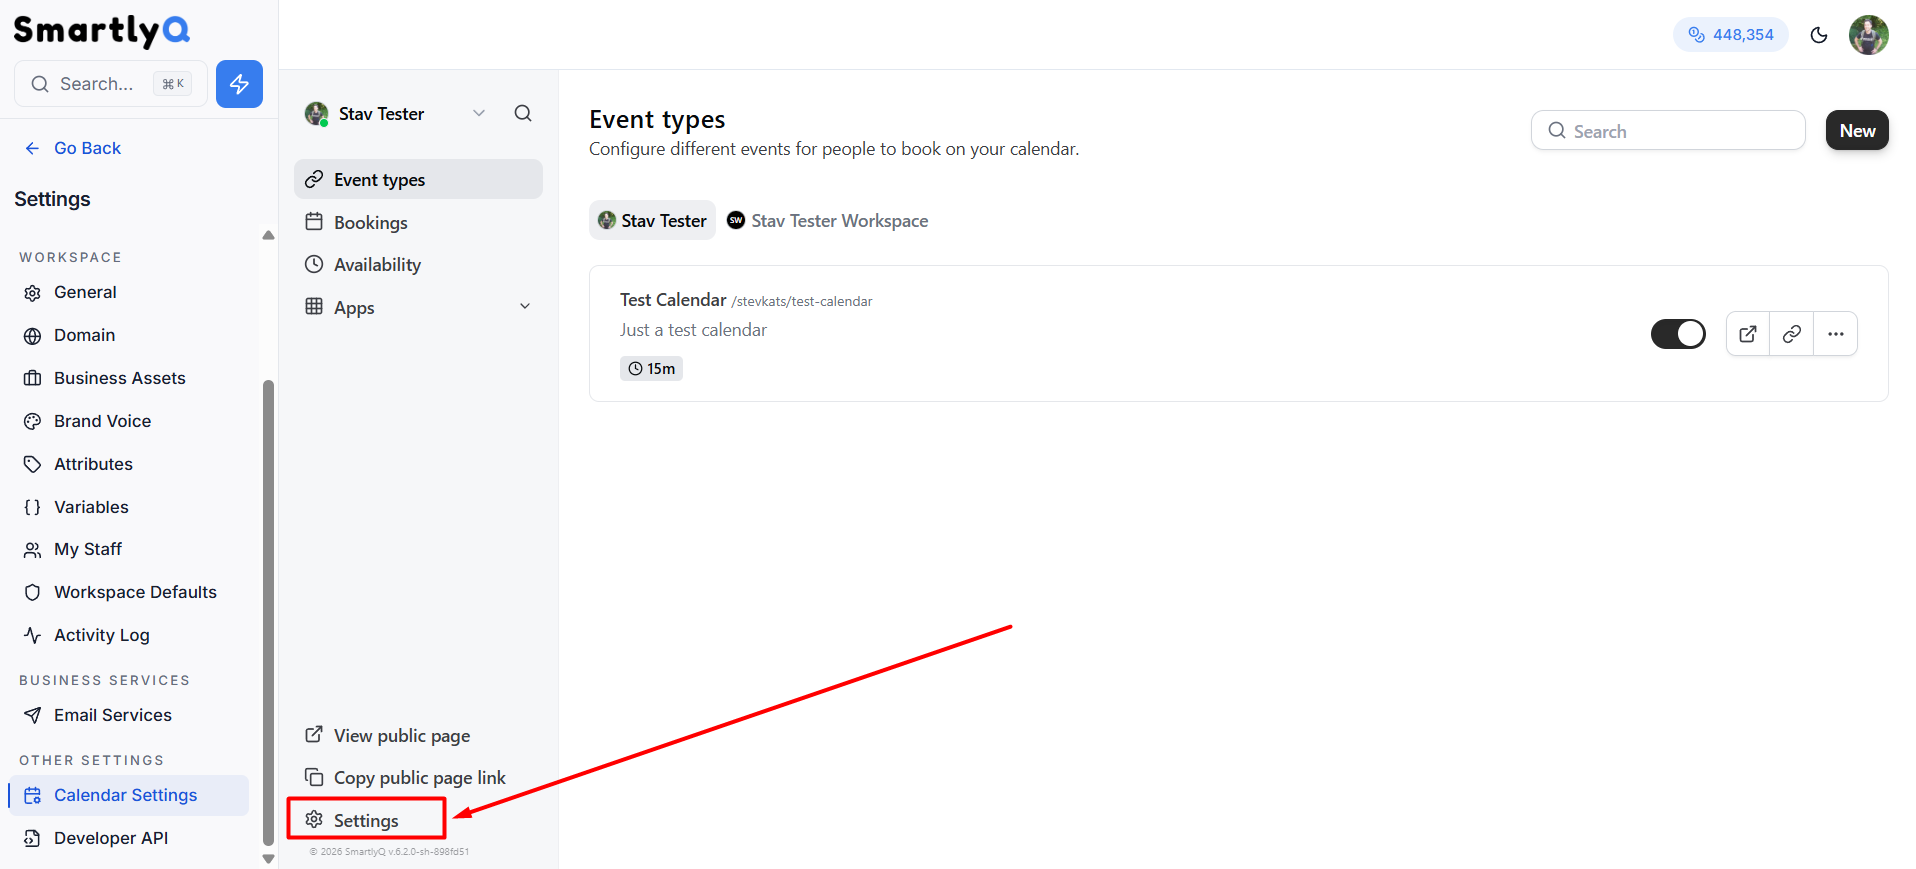
From the main sidebar menu select Settings (Gear Icon).
-
Under the OTHER SETTINGS section, click on “Calendar Settings” from the left sidebar.

Step 2: Find the Zoom app in the App Store
-
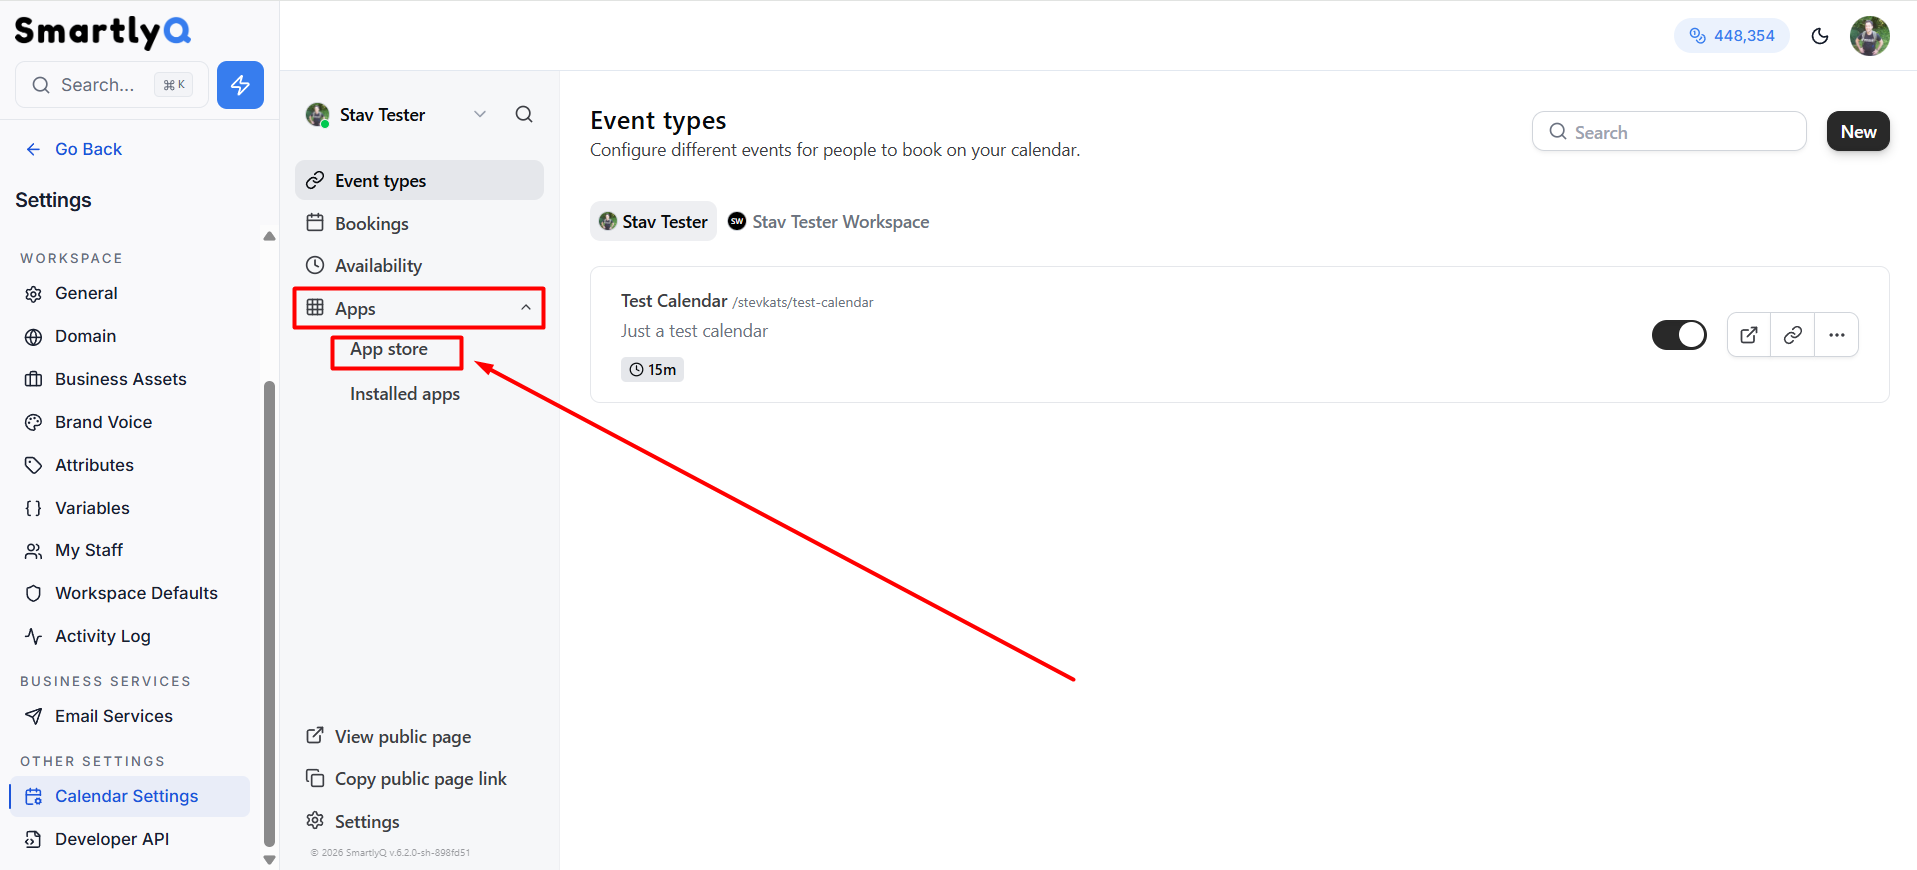
You’ll now see a few options for inside calendar settings. Expand the “Apps” from the left calendar sidebar and click on “App store” option:
-
You can either find the “Zoom Video” app in the "Most Popular" section, search for it manually using the search bar, or click on the "Conferencing" category of apps:

Step 3: Install the Zoom app in your calendar account
-
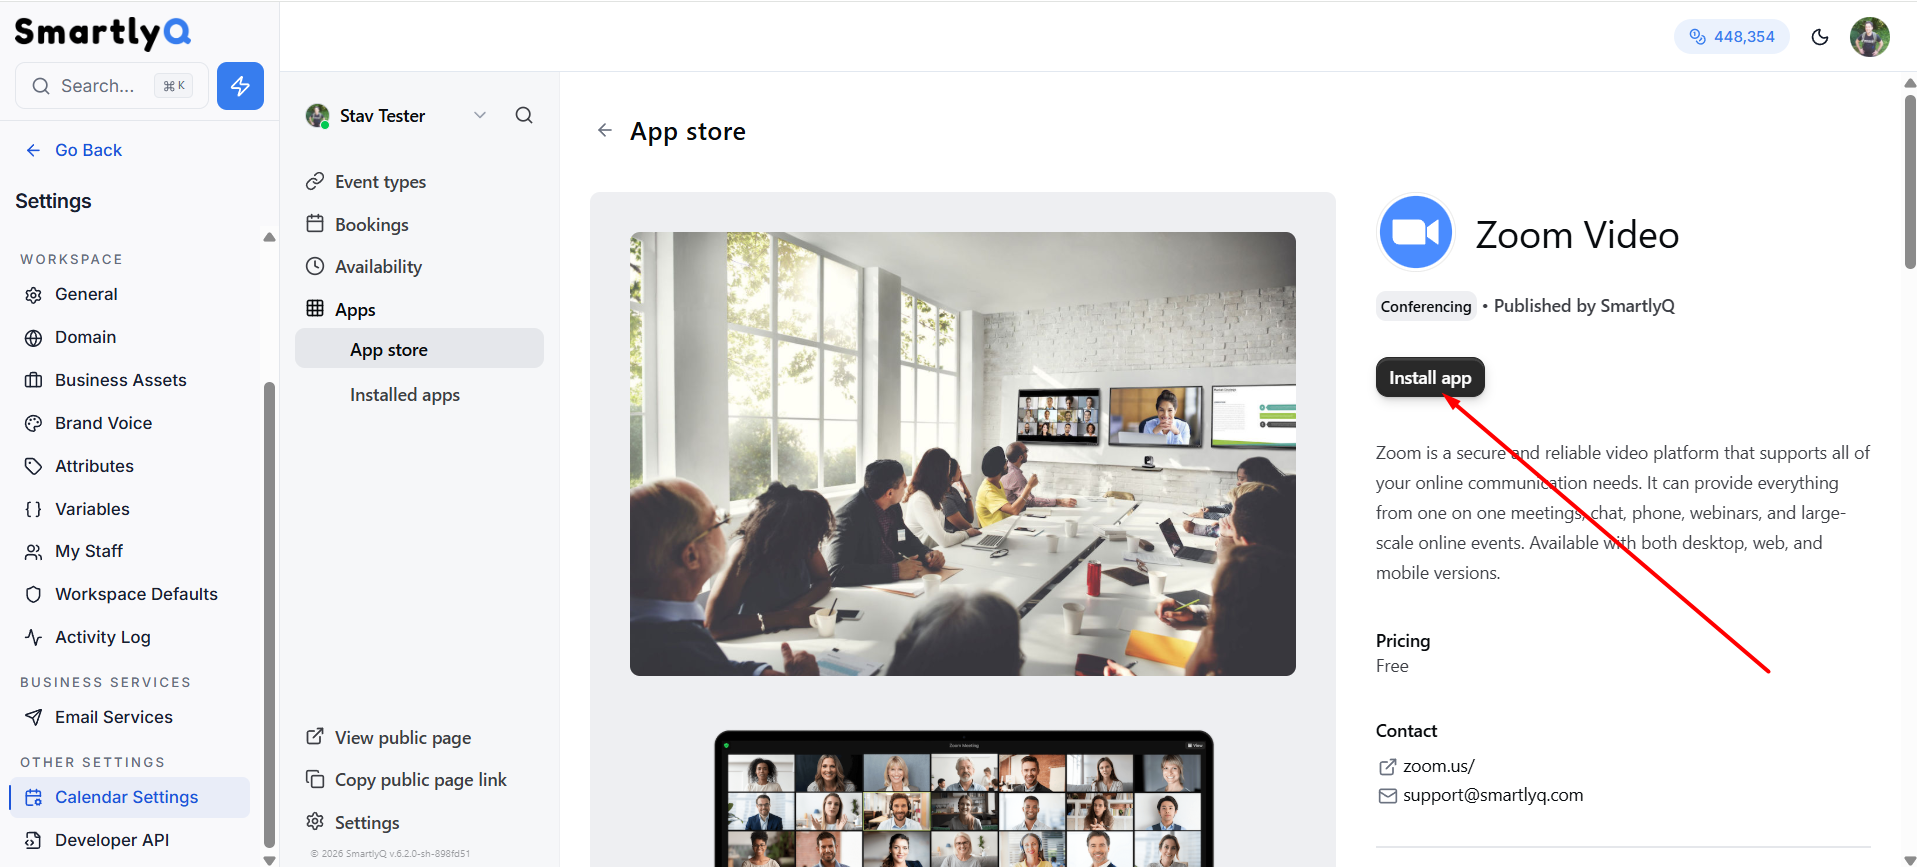
Once inside the Zoom App page, simply click on the "Install app" button:
-
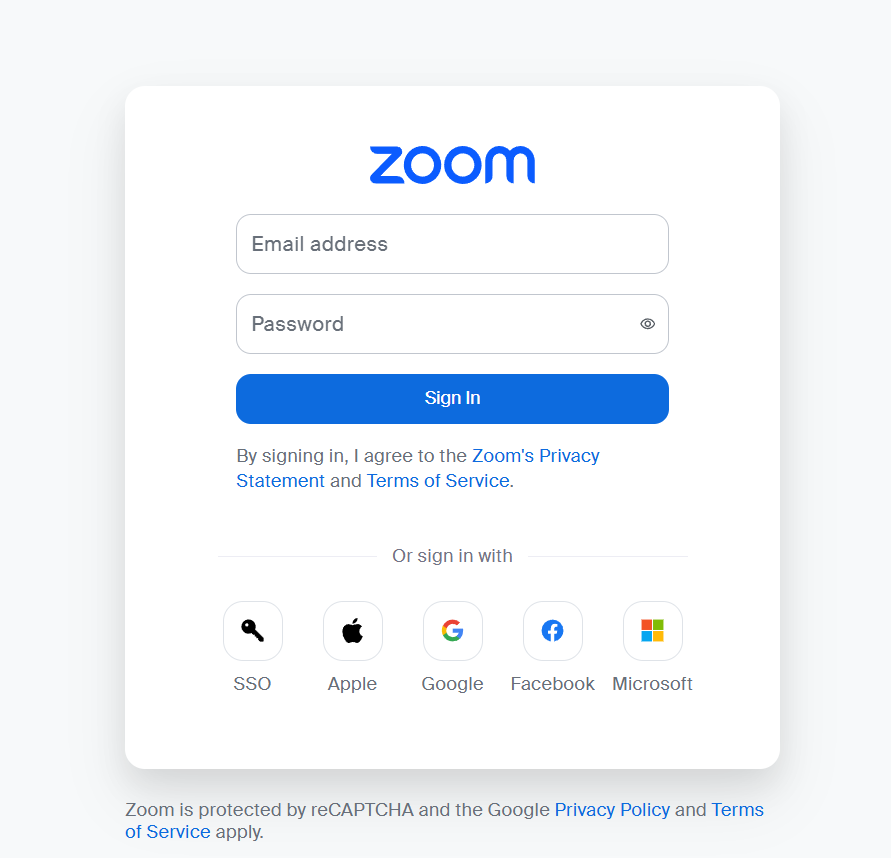
You will be redirected to sign in with your zoom account - if not signed in already. Use your zoom credentials and sign in.
-
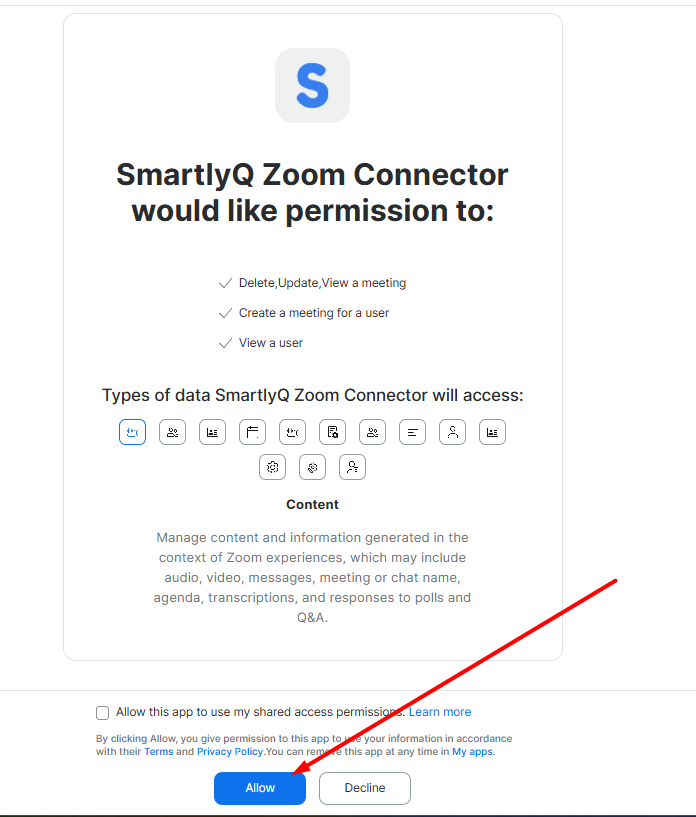
In the next step you will be asked to Allow the integration. Simply press the "Allow" button in the bottom banner, to complete the integration and allow your zoom account to be integrated with your calendar:
Step 4: Assign your zoom to a calendar
-
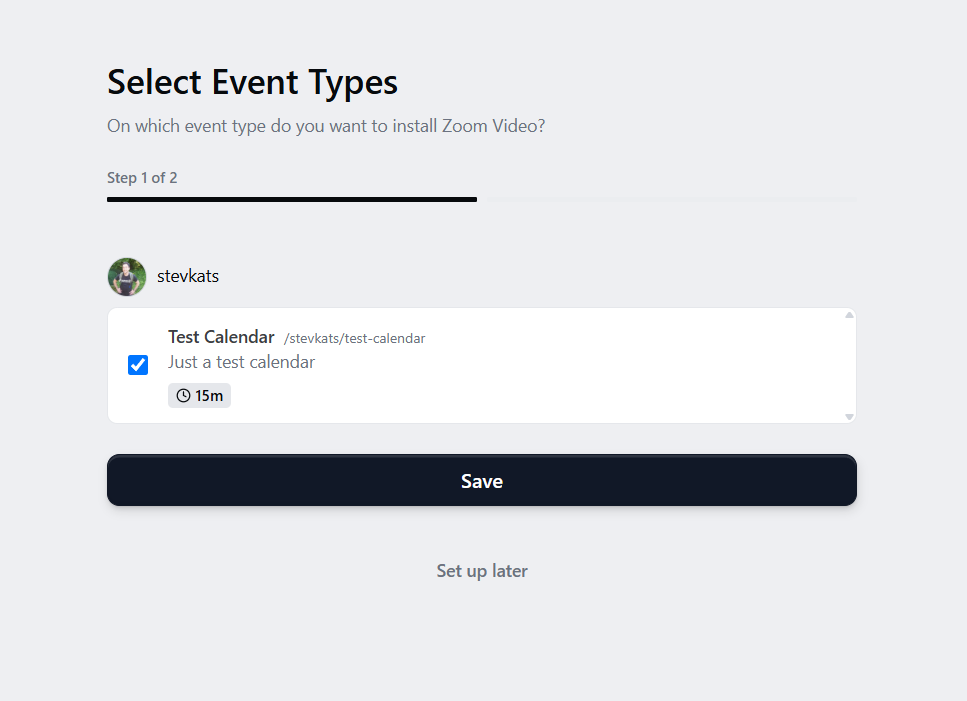
Once authorized, you'll be redirected to the calendar and asked to assign your newly integrated zoom app to one or more of your created calendars. Select one or more calendars and press "Save", or you may also press "Set up later", if you want to manually add your zoom to a calendar at another time of your choosing:
-
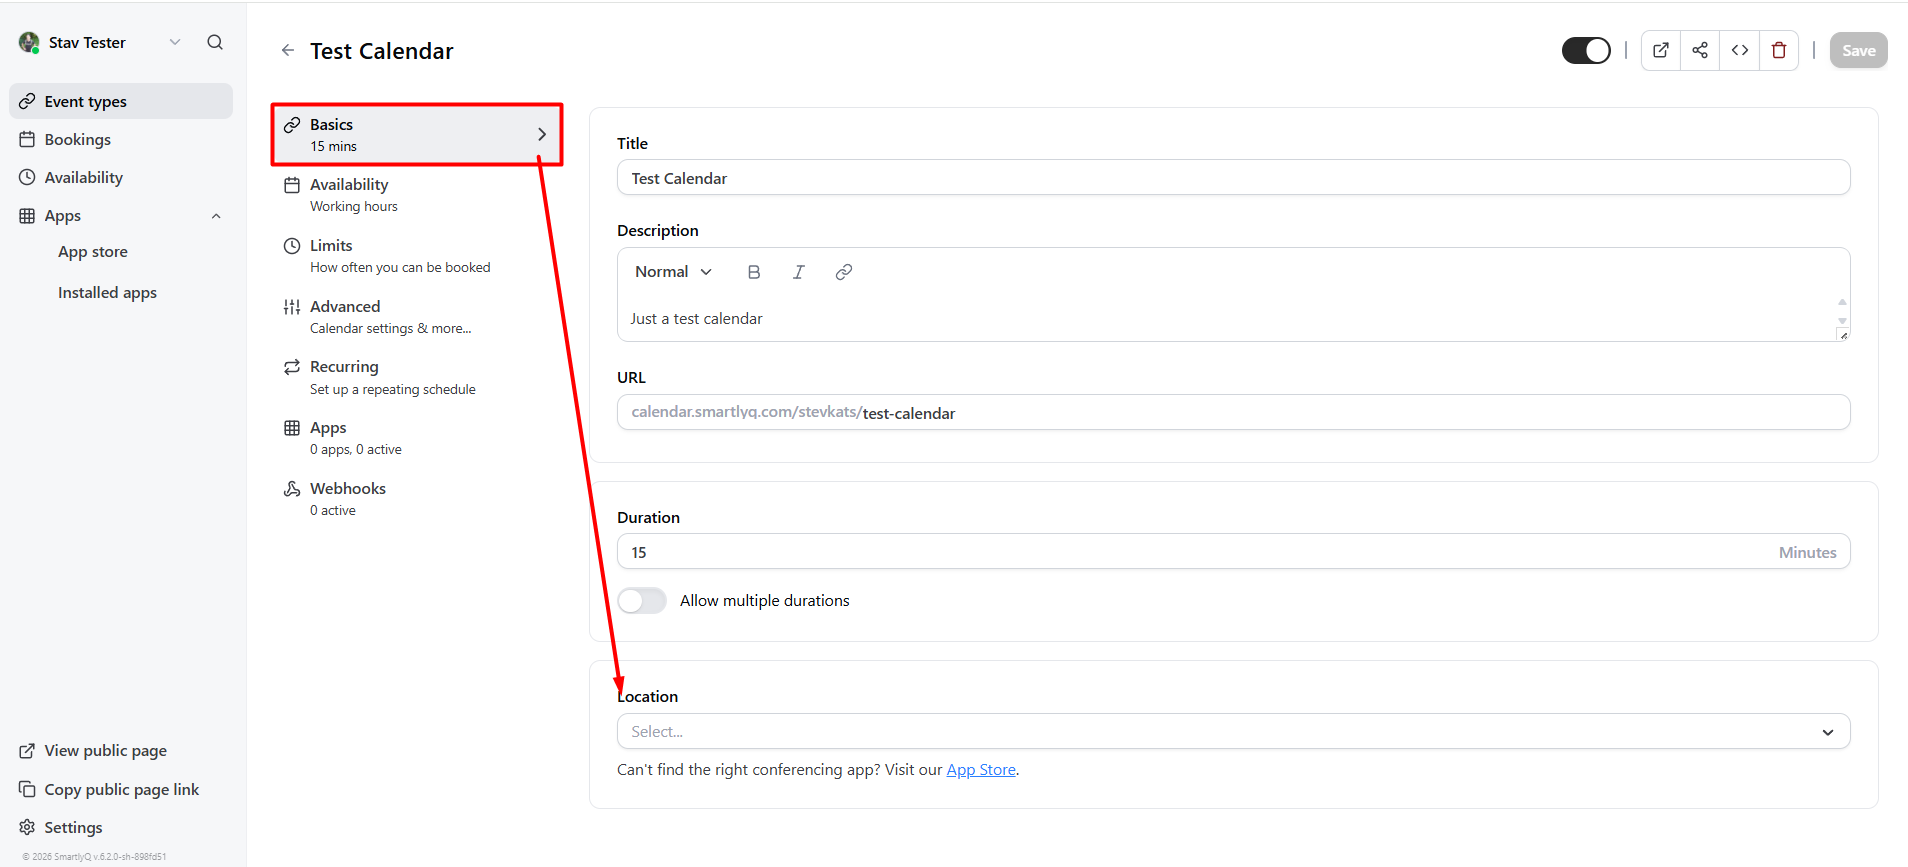
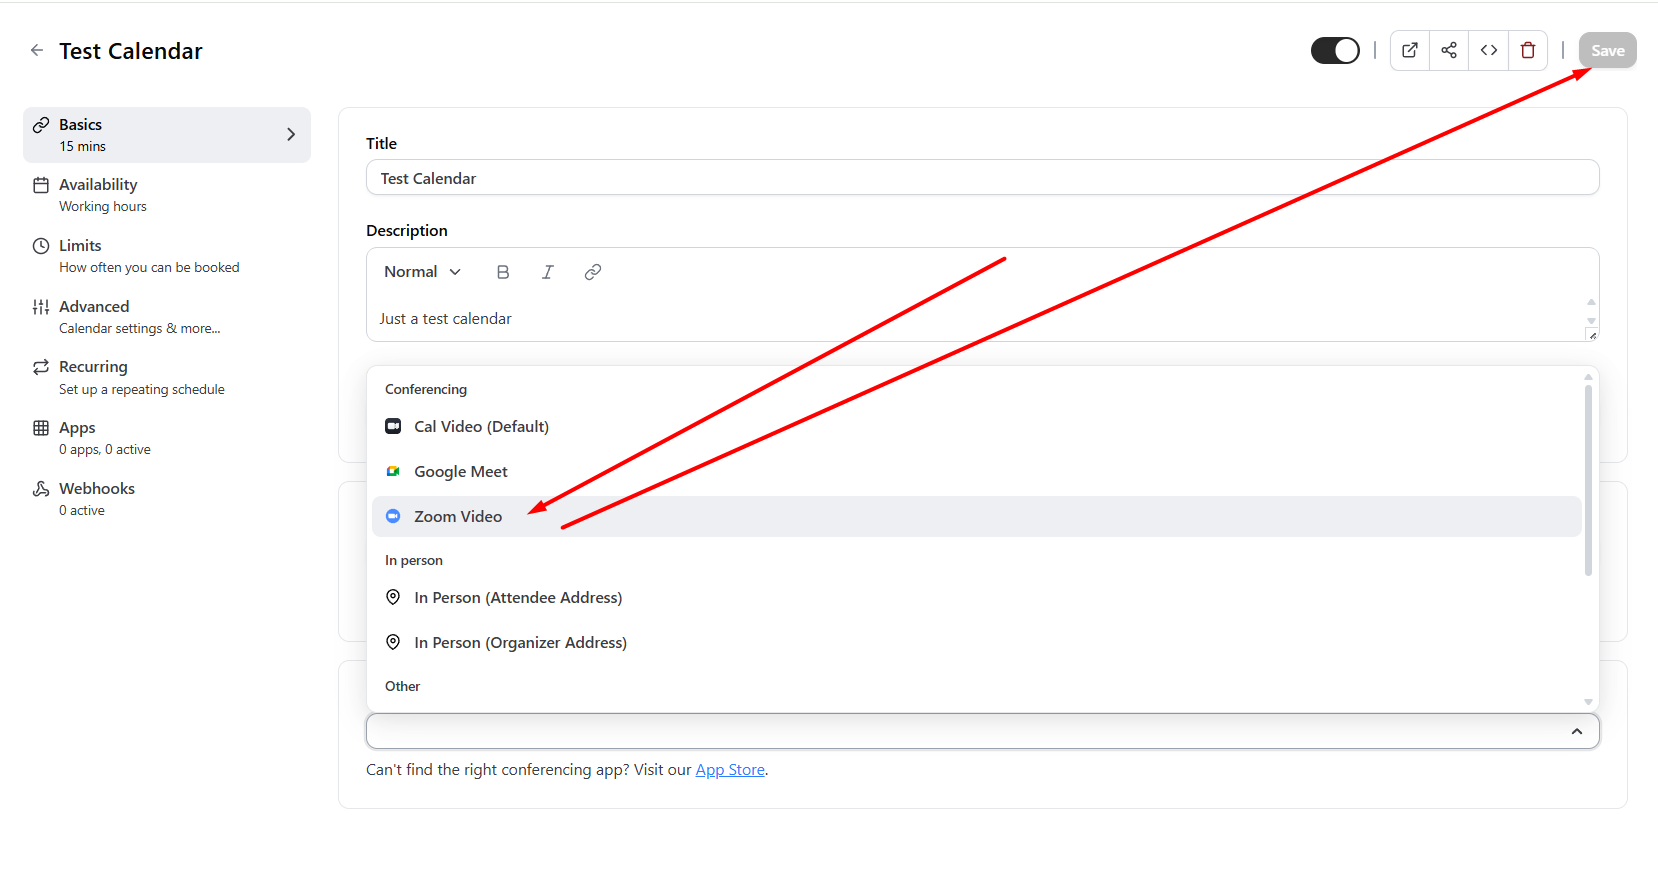
To manually assign the zoom inside a specific event/calendar settings, go to its settings, in the "Basics" tab, scroll down to the Location dropdown and select Zoom from the list. Then, just press "Save" from the top right corner to save your changes:
And that is all! You can now use this calendar to automatically book your appointments on your zoom account!
Removing Zoom from your calendar account
In order to remove the Zoom integration from your calendar:
-
Simply navigate again to the Calendar Settings:

-
Then press "Settings" from inside the calendar app:
-
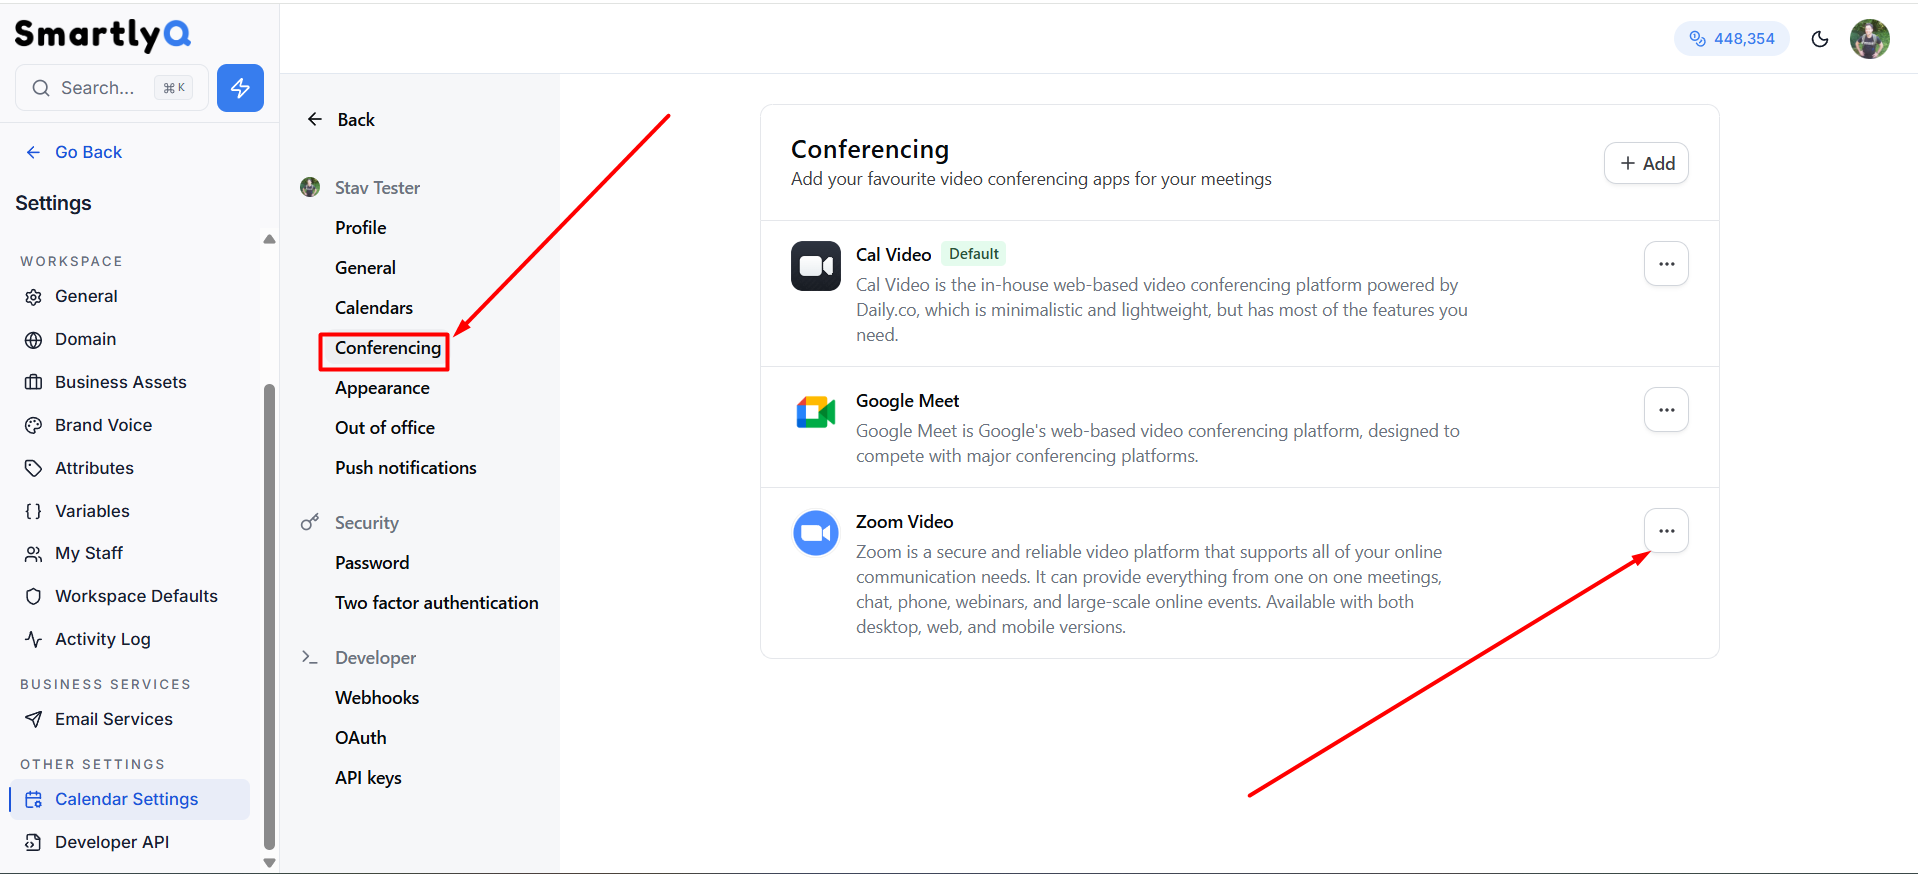
From there, go to the "Conferencing" option and you will see a list of available integrated conferencing apps on your account. Find the Zoom Video App card and click on the 3 dots:
-
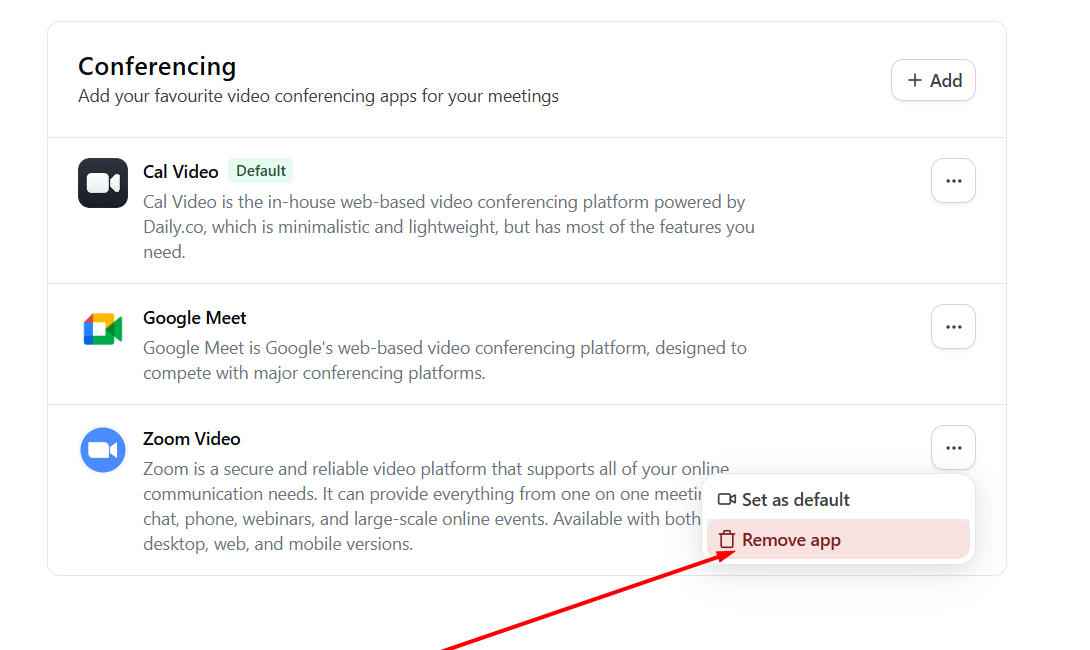
Then press "Remove App":
-
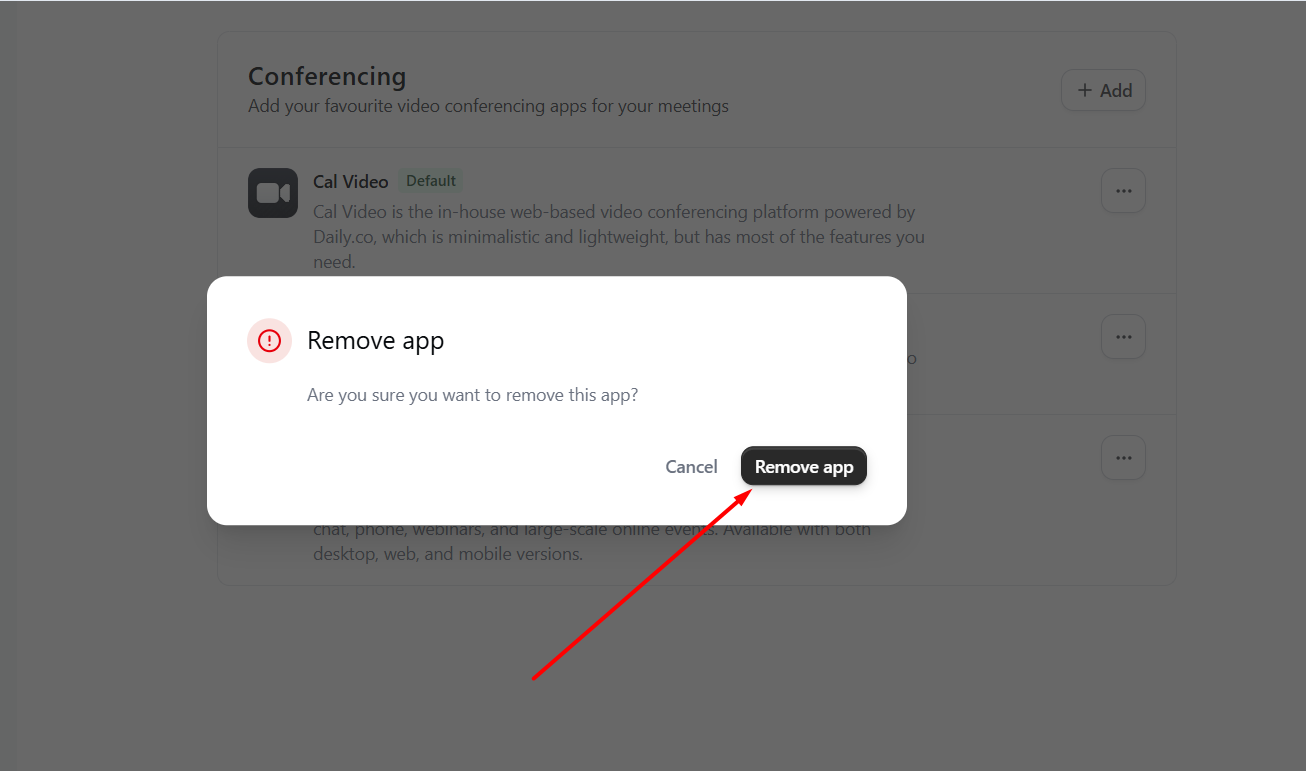
A confirmation dialog window will appear, simply press "Remove App" to finally remove Zoom: