How to Post Articles on your Integrated LeadConnector Through SmartlyQ
Effortlessly Create New Blog Posts Within Your LeadConnector Subaccount
Prerequisites
First you must connect your LeadConnector Subaccount(s) to SmartlyQ through the Integrations Area. If you haven't done so already please use the following guide to do so: How to Add Your Own LeadConnector Integration to SmartlyQ.
Please also note that due to the LeadConnector API limitations, the integration only allow you to post articles on an existing Blog Object. It does not allow you to create a Blog Object. As such you must first manually create a Blog Object first within your LeadConnector Subaccount.
Follow this guide on more info on creating Blogs on your LeadConnector: How to Create a Blog?.
Create your article/blog post via SmartlyQ
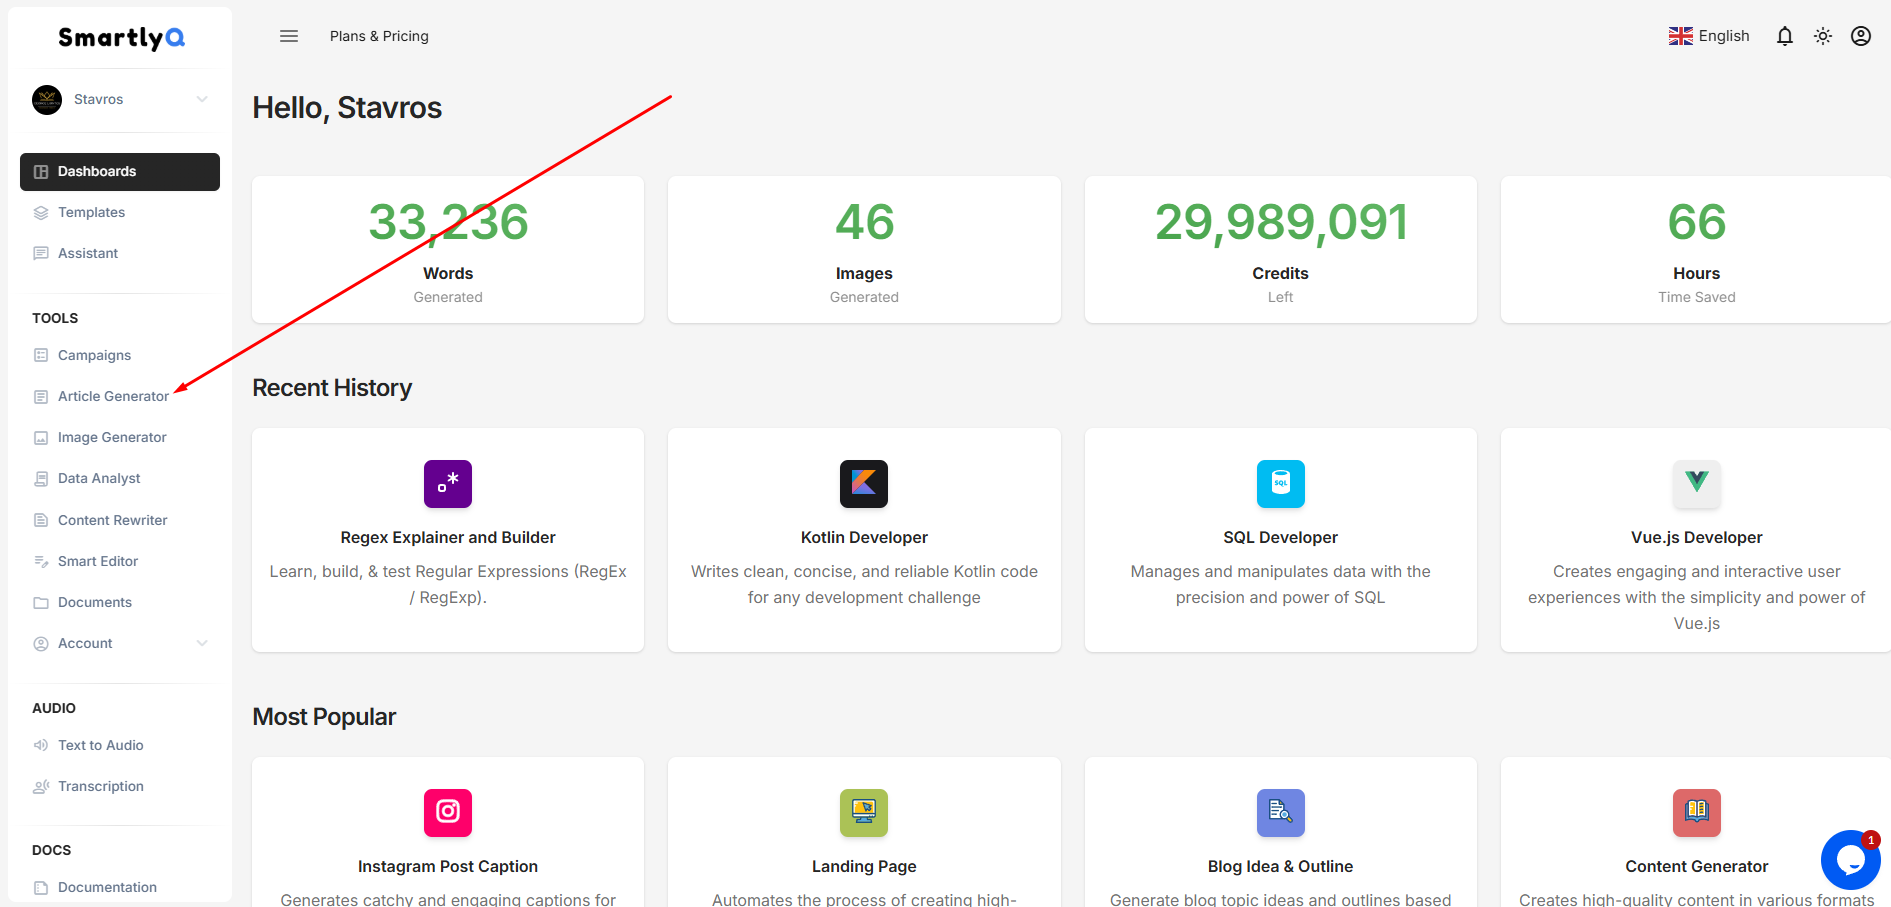
Start by creating a new article via the "Article Generator" tool (please refer to this article for guidelines: How to Use the Article Generator. You may also create a Campaign through SnartlyQ's "Campaigns" feature for automatic scheduling purposes.
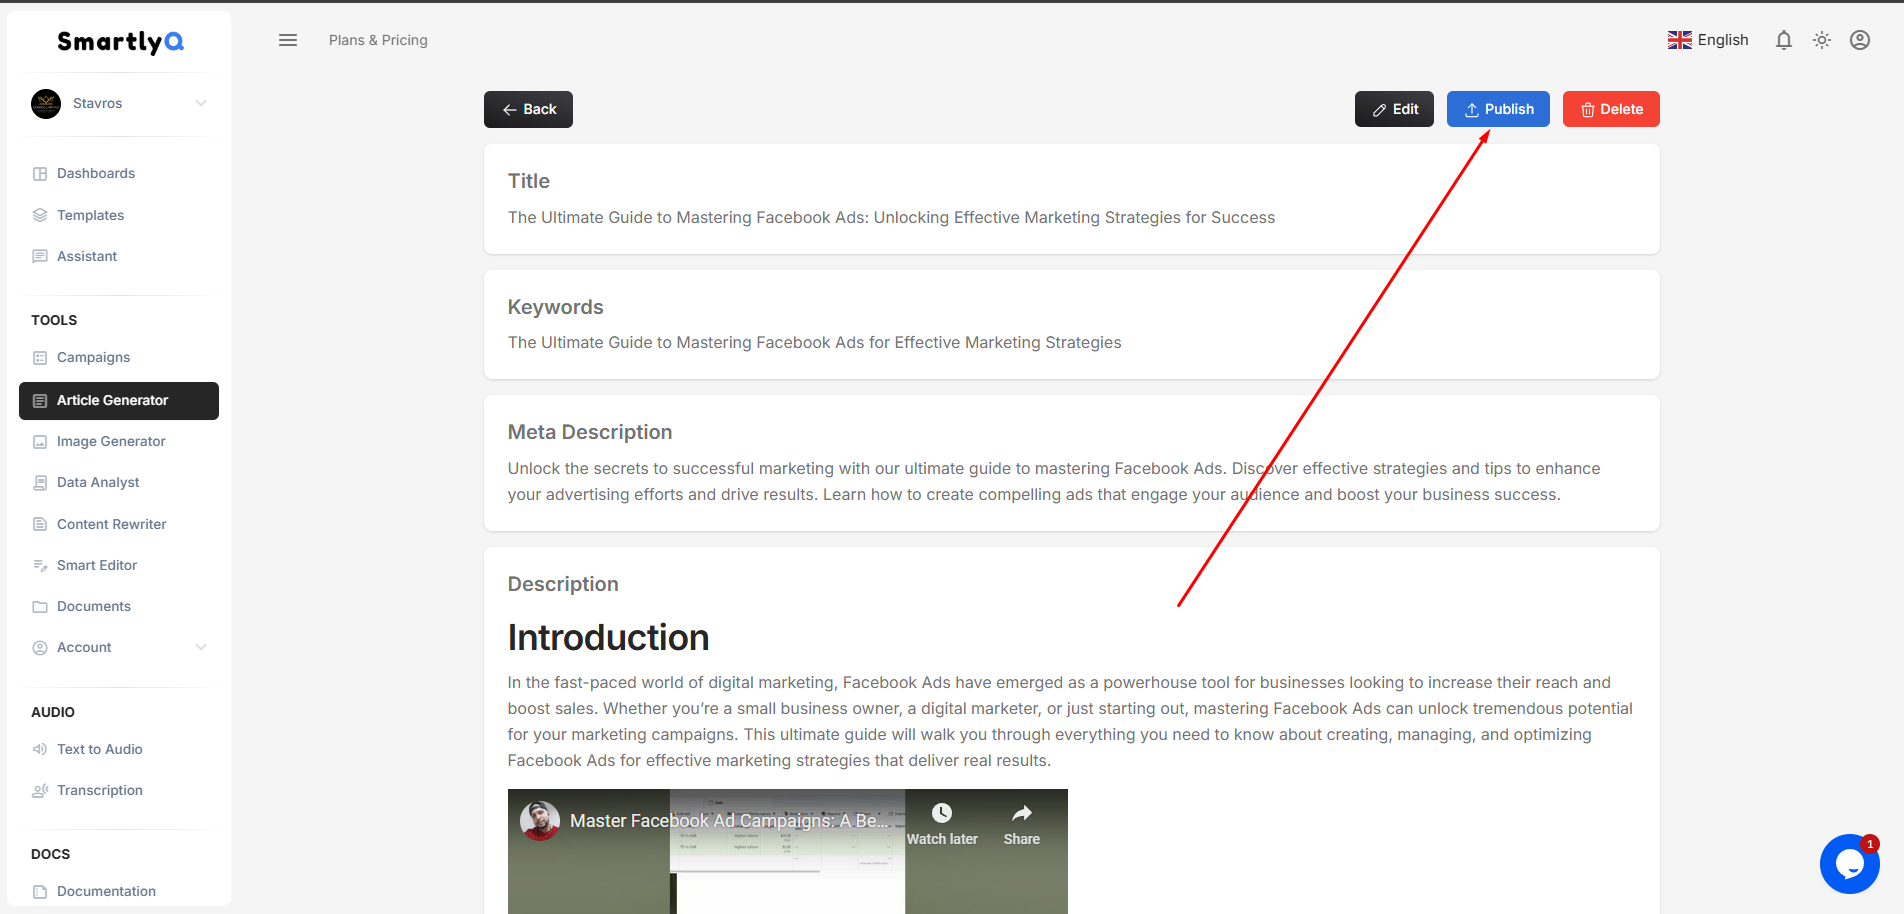
Once inside the article editor adn ready to publish, click on the "Publish" button on the top right corner of the editor screen.
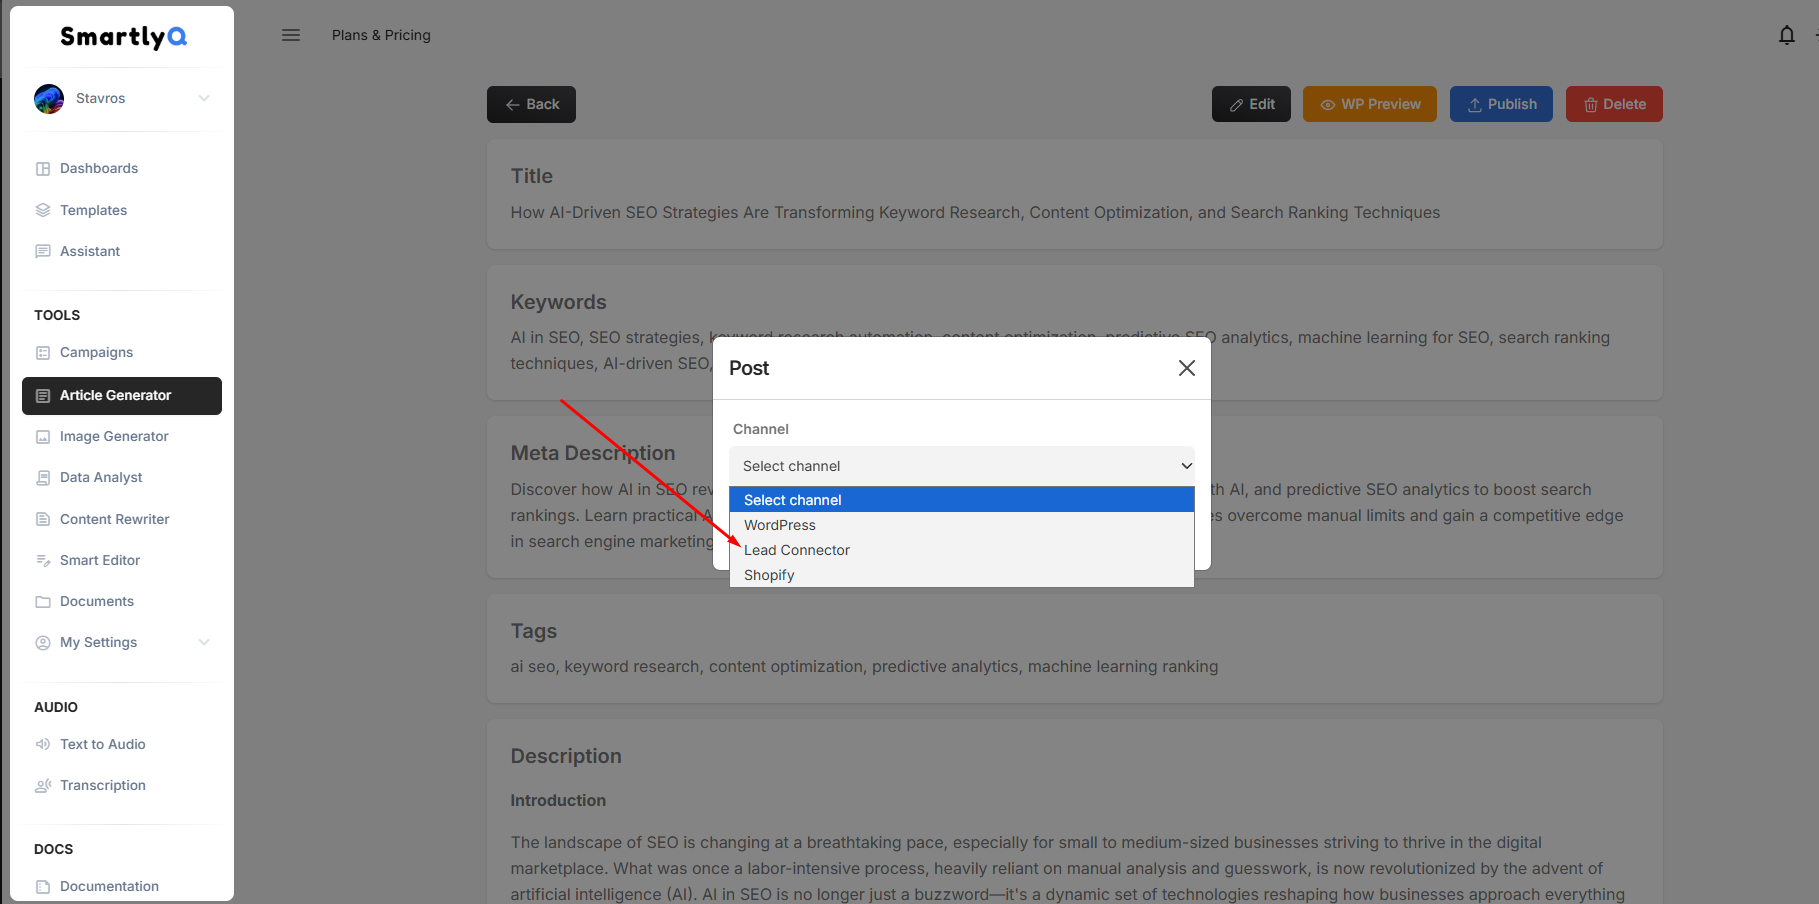
A modal window will appear with a dropdown for you to select the channel for the article to be published to. You may post it to a WordPress site (if you have integrated one) or a to blog object in your integrated LeadConnector subaccount(s).
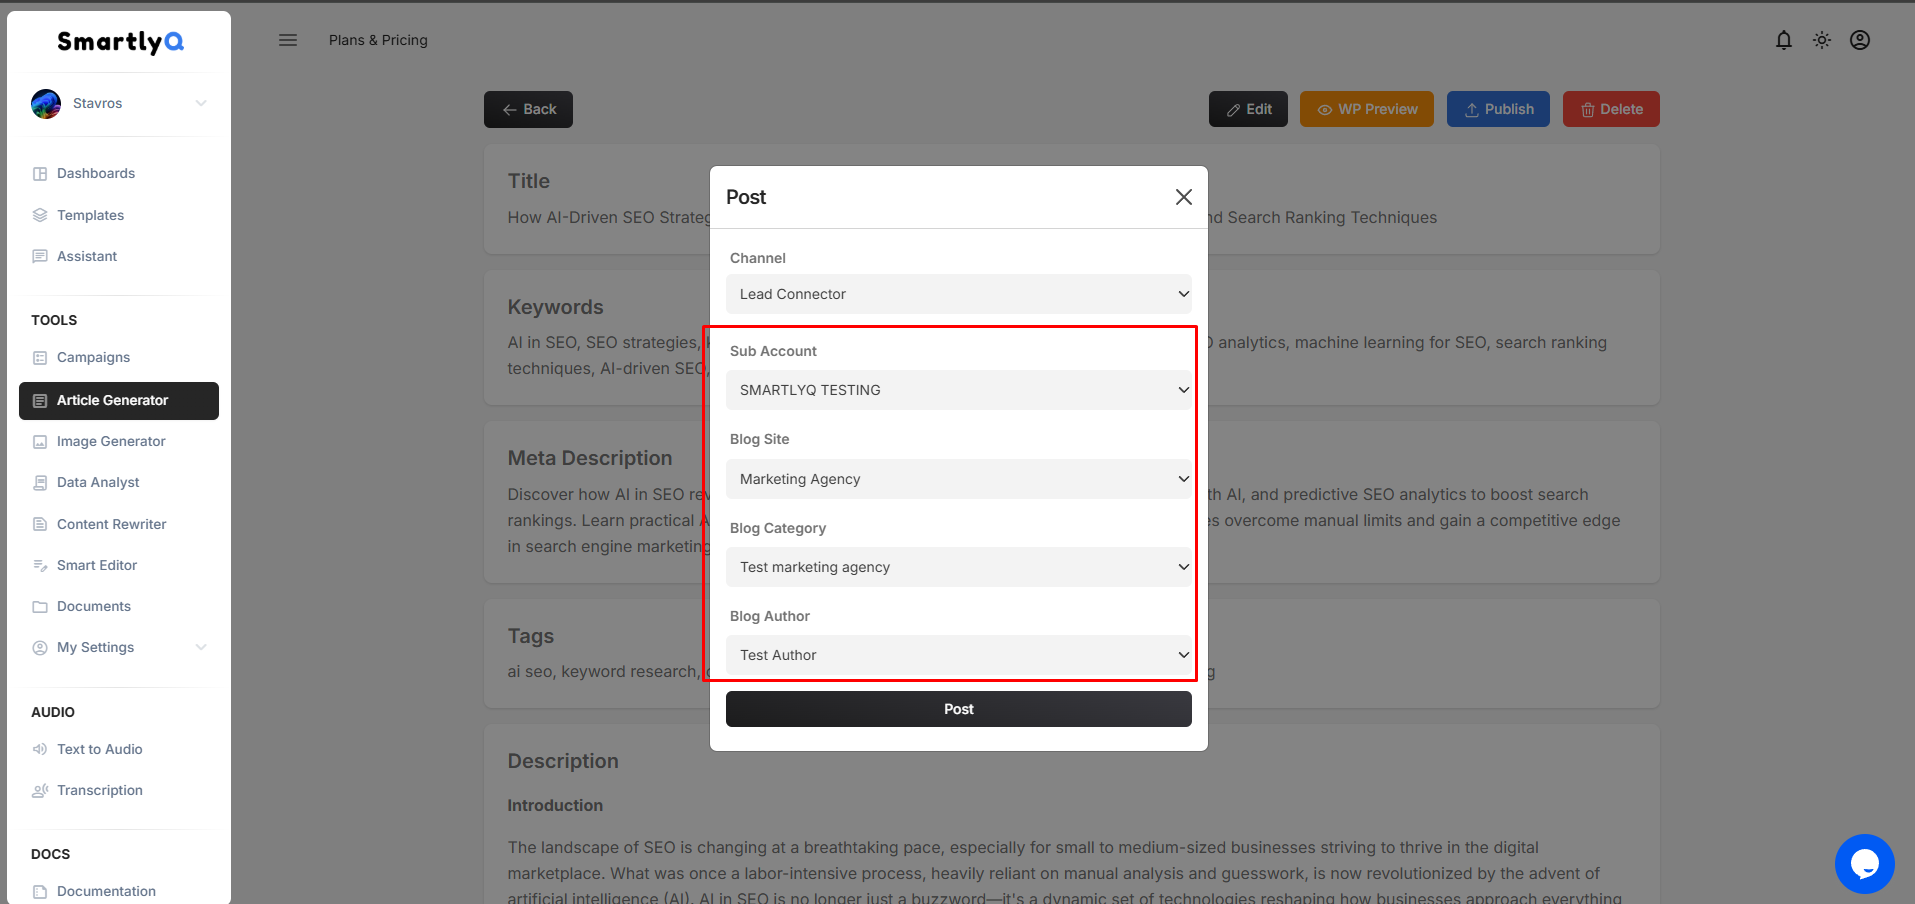
From the screenshot above, select the following:
- LeadConnector Subaccount to post the blog article
- Blog Site (The blog object to post the article to)
- A blog category for this article
- The blog article author
Note that, as mentioned in the beginning of this guide, you must have arlaready created manually beforehand in your LeadConnector subaccount:
- A Blog Site
- At least one category
- At least one author
Your article to be published MUST also include a featured image, otherwise the posting process will fail.
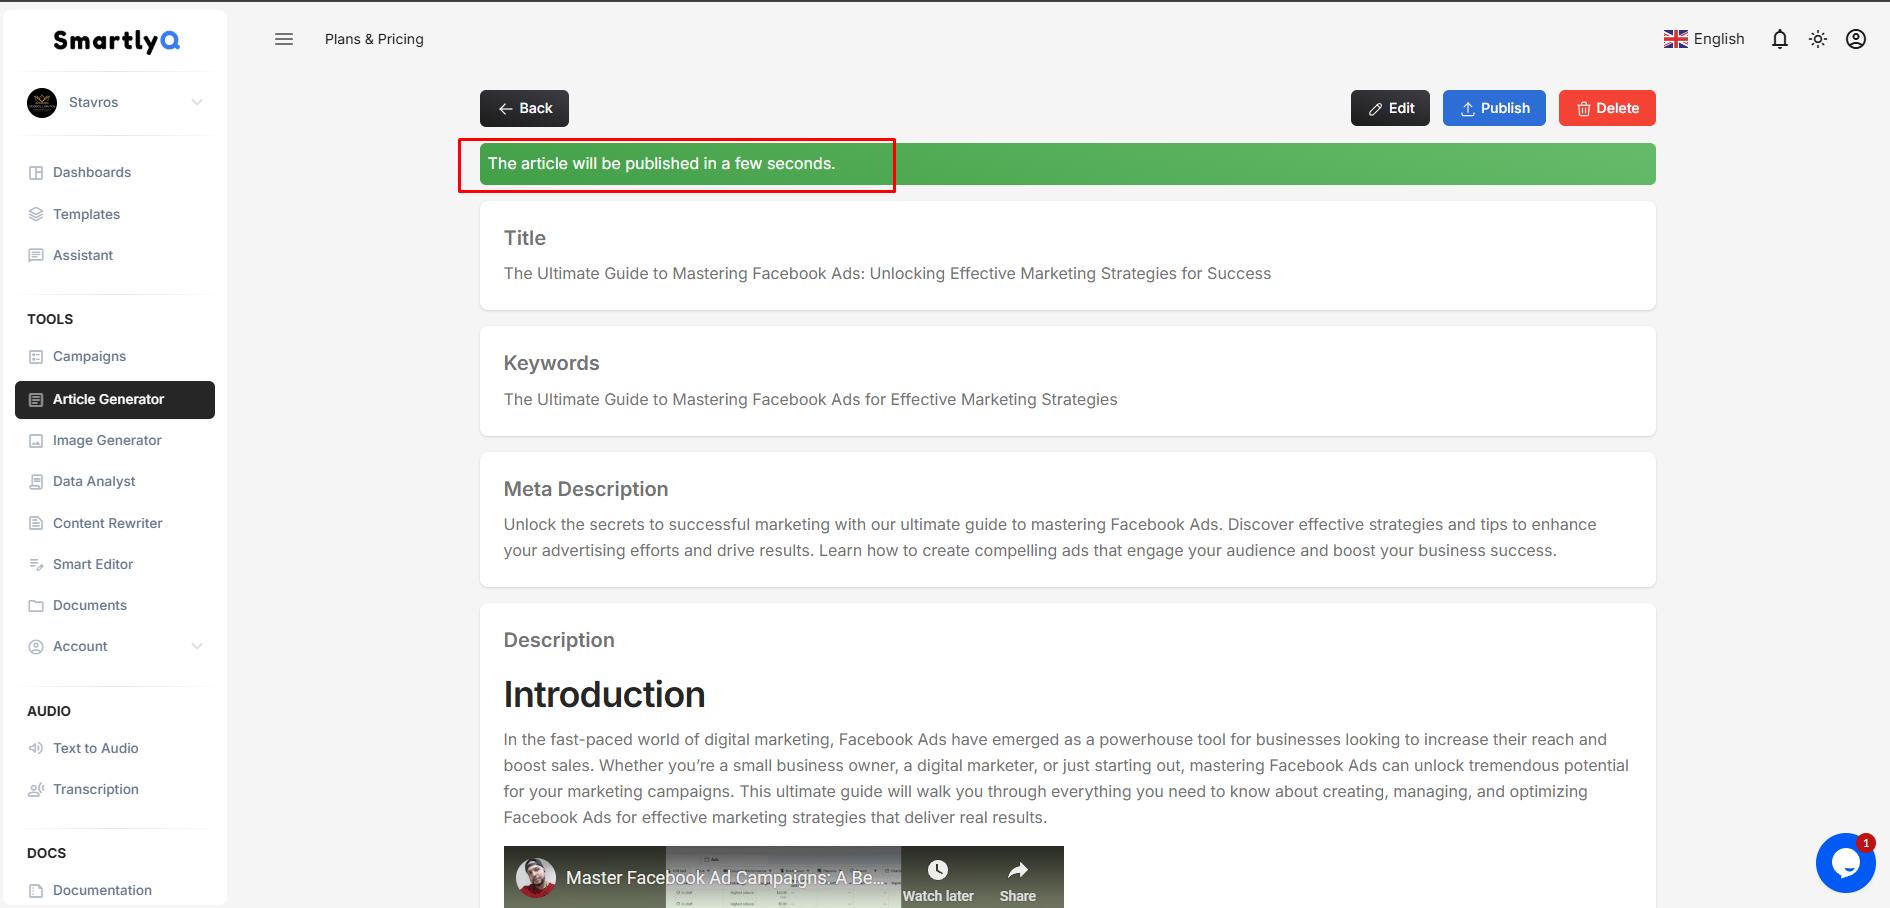
When ready, hit the "Post" button on the bottom. You will get a notification that "The article will be published in a few seconds."
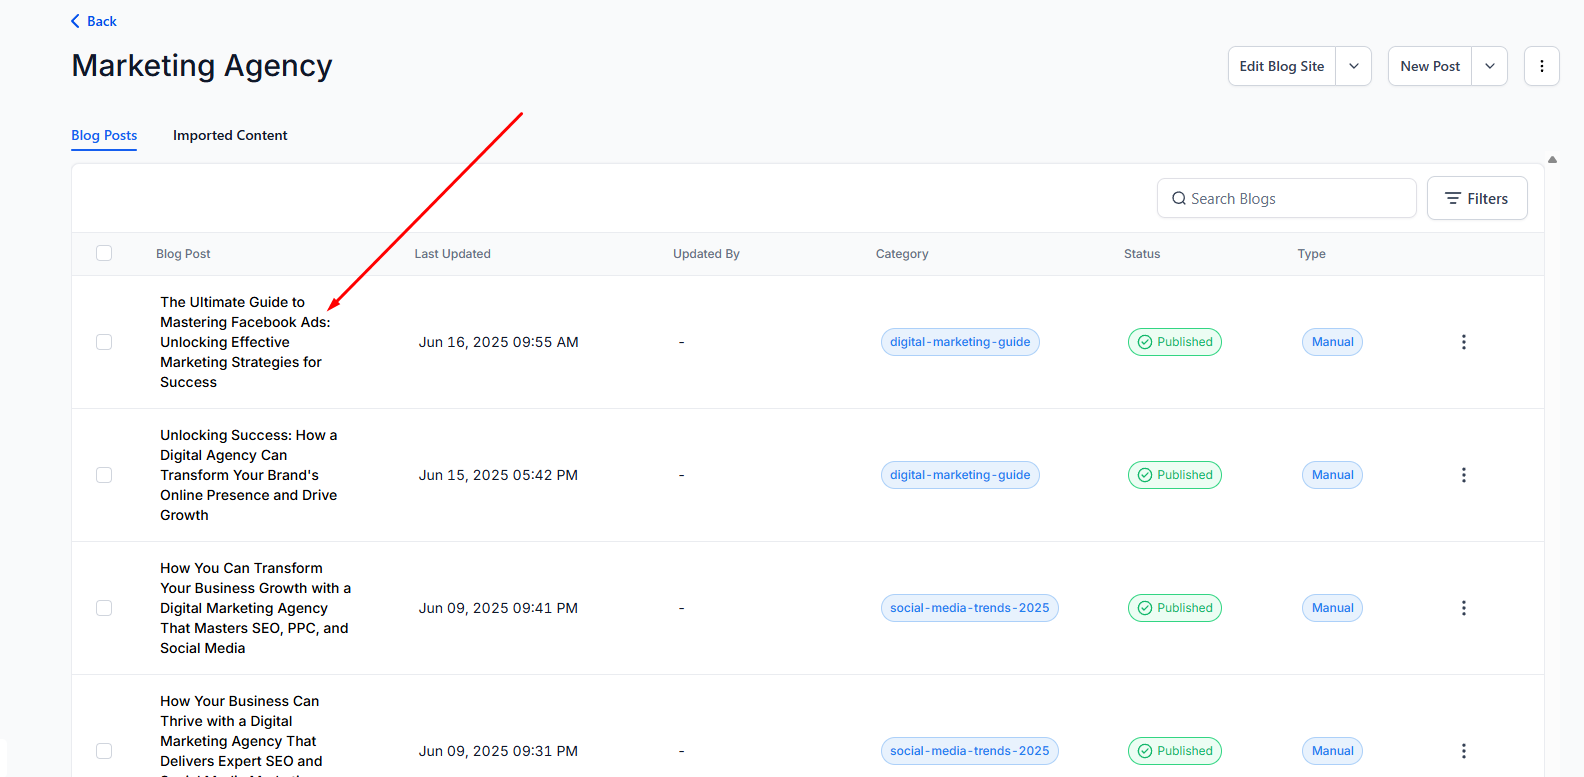
Check your Blog site after a few seconds and your article will be posted!
You can also view the video version of the above tutorial here: