How to Use the Campaigns Tool
Create and schedule posting of articles on your Integrated third-party platforms
The Campaigns Tool on SmartlyQ is an intuitive tool designed to help you schedule and create high-quality content quickly and efficiently, on your integrated platforms. Follow these instructions to schedule posting of your generated articles using this feature.
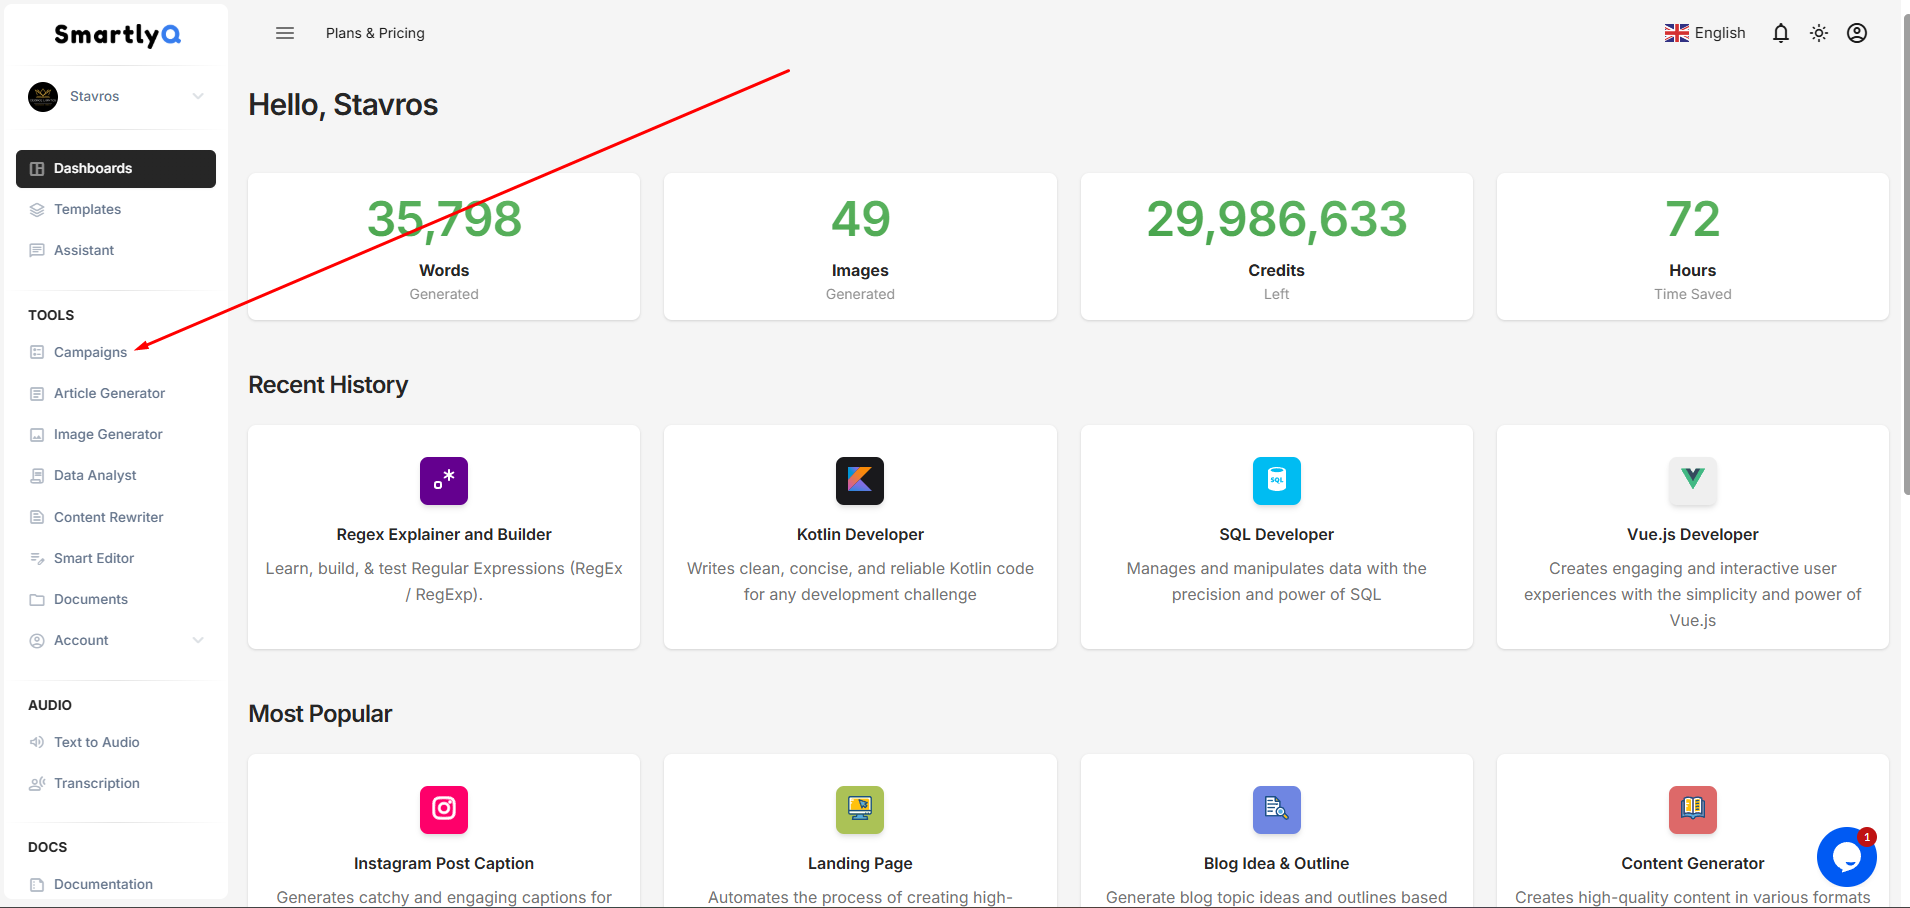
Step 1: Access the Campaigns Tool
- Log in to your SmartlyQ account
- Navigate to the "TOOLS" section on the left-hand menu and select the "Campaigns" item.
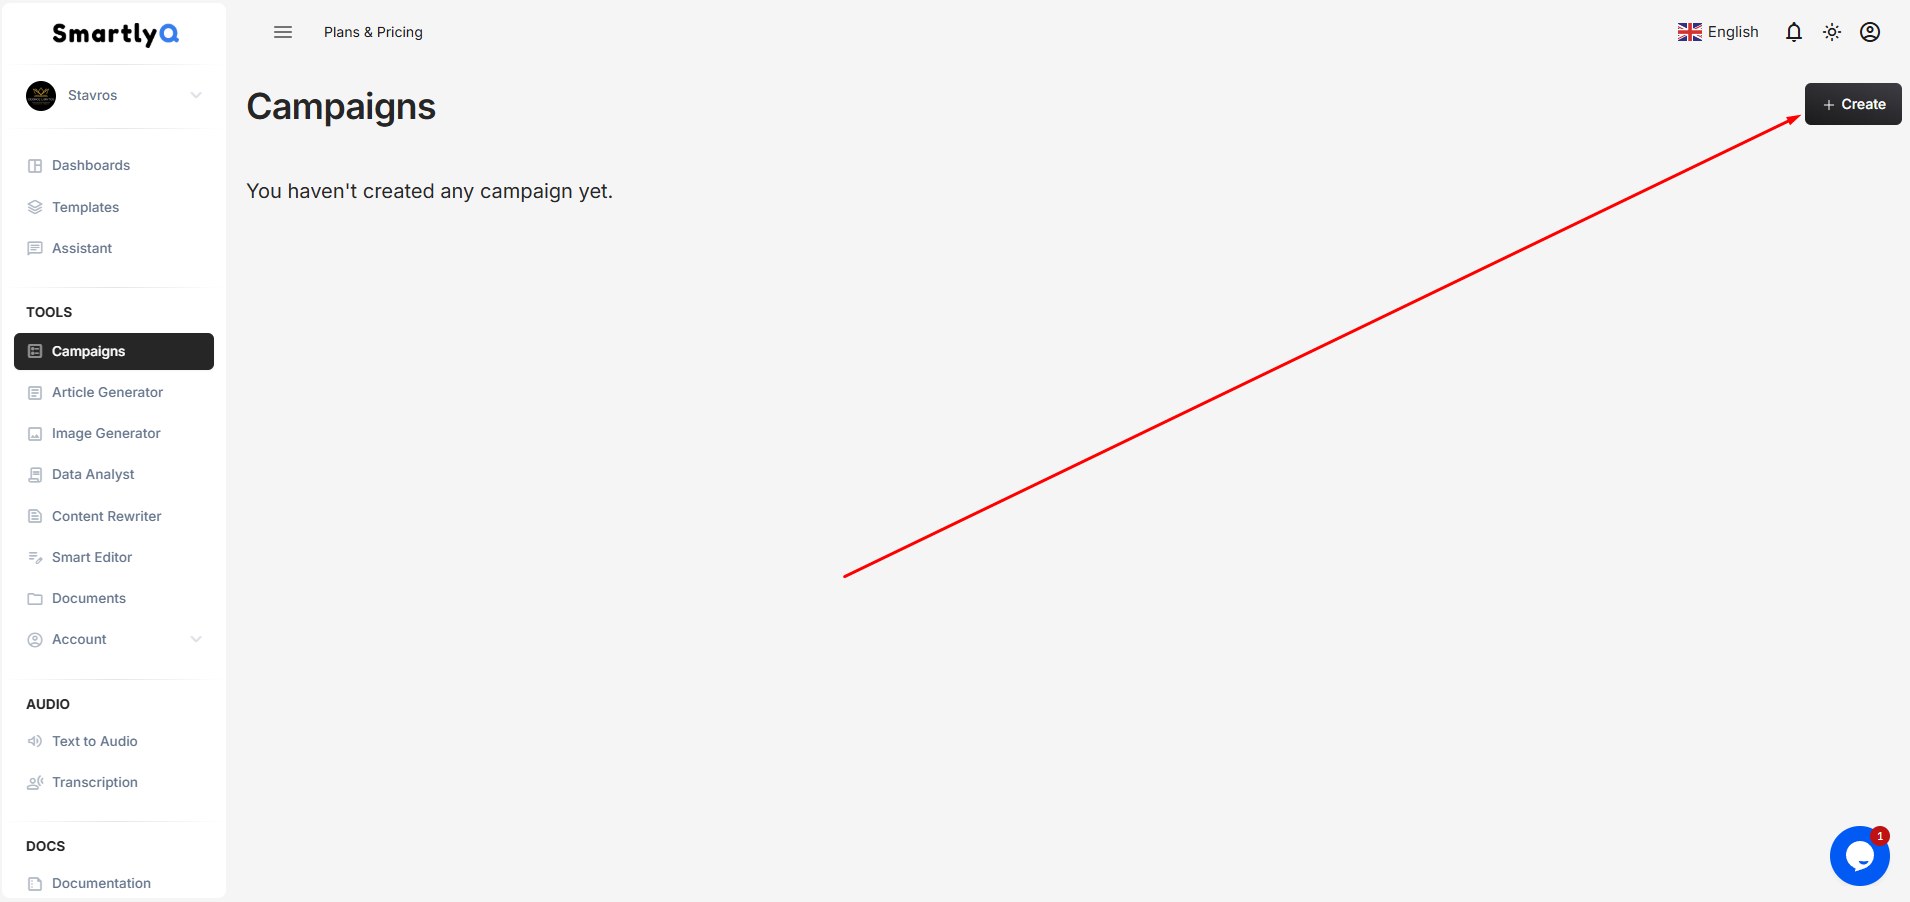
To create a new campaign, press the "Create" button on the top right:
Step 2: Input information to the Create campaign generator
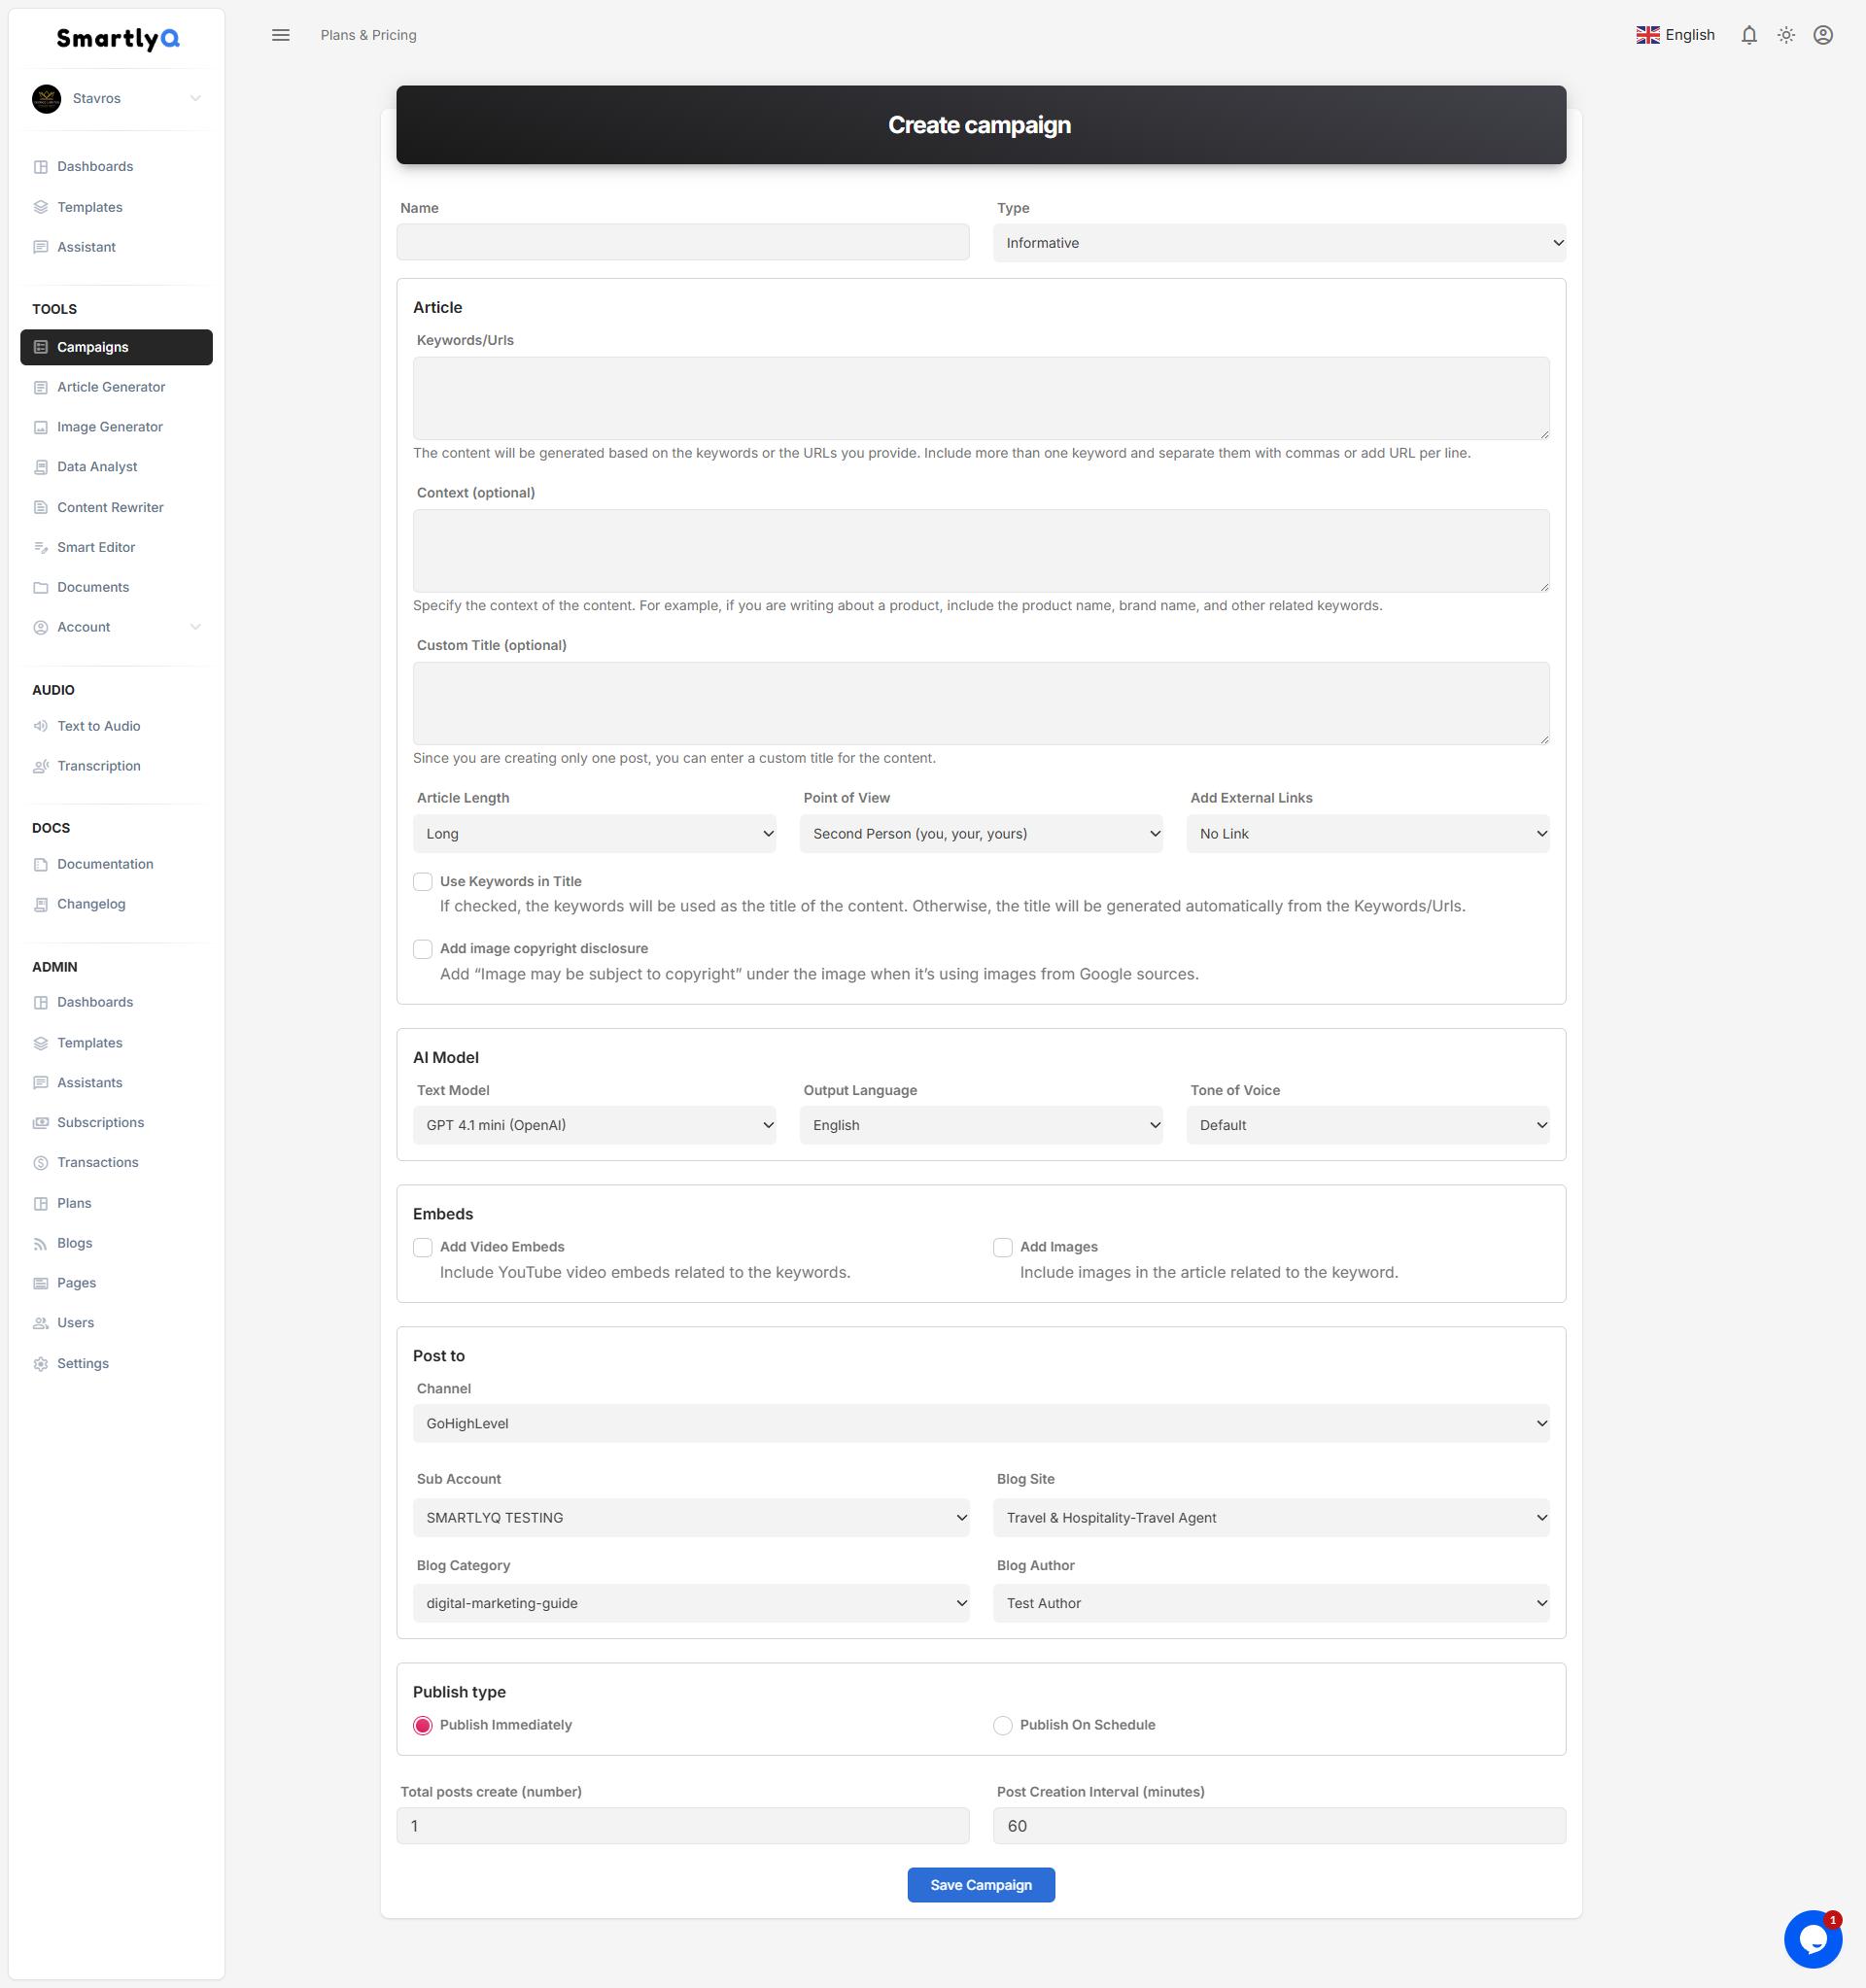
In the create campaign screen, there quite a few parameters to setup. Let's break them down one by one:
General Inputs

Here you can:
- Name your campaign
- Select the campaign type (Informative or RSS)
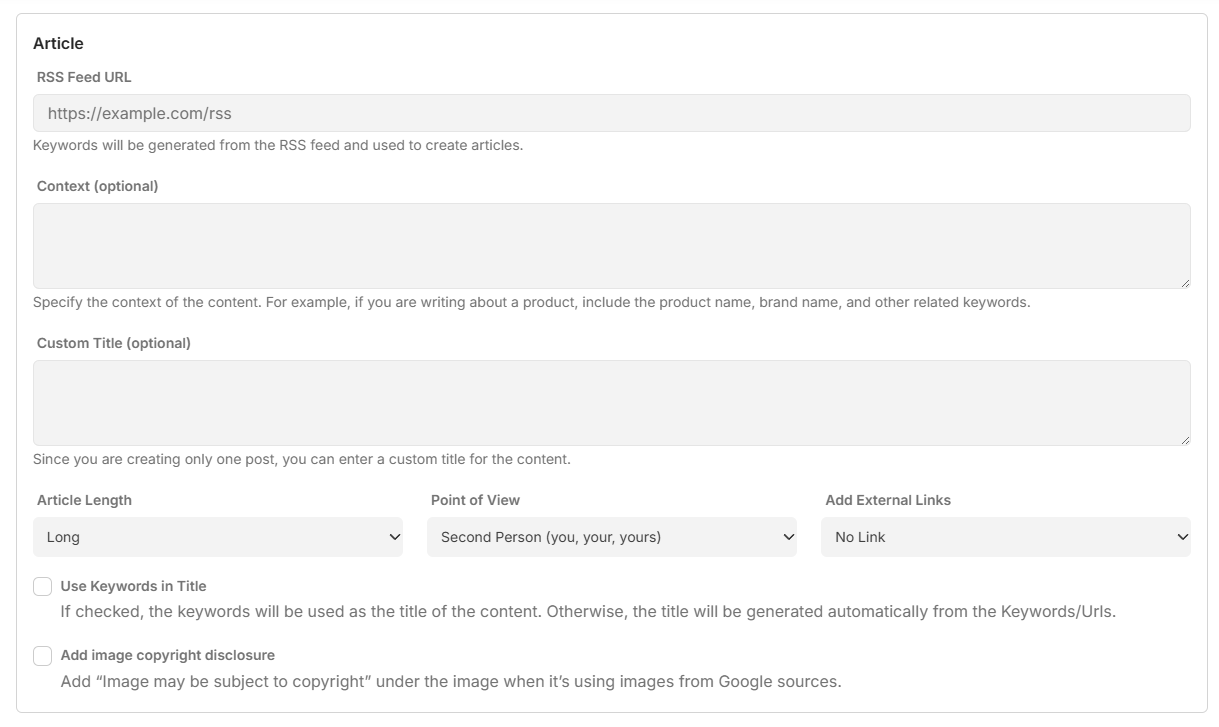
Article Section
-If you chose "Informative" for campaign type you will see the Keywords/Urls input field. In this case, the content will be generated based on the keywords or the URLs you provide. You can include more than one keyword and separate them with commas or add URL per line.
-If you chose "RSS" option for campaign type you will see the RSS Feed URL input field (see screenshot above). In this case, Keywords will be generated from the RSS feed and used to create articles.
-In the (optional) "Context" field, you can specify the context of the content. For example, if you are writing about a product, include the product name, brand name, and other related keywords.
-In the (optional) "Custom Title" field, you can enter a custom title for the content if you are creating only one post.
-The next few options in this section have you select:
-
The Article Length
-
Point of View
-
Add External Links
-
Use Keywords in Title
-
If checked, the keywords will be used as the title of the content. Otherwise, the title will be generated automatically from the Keywords/Urls.
-
Add image copyright disclosure
-
Add “Image may be subject to copyright” under the image when it’s using images from Google sources.
Al Model Section

In this section you can select from a variety of AI text models from OpenAI, Deepseek and Anthropic. Choose the ouput language of the to be generated articles and finally select the Tone of voice (eg. Formal, Funny, Professional, etc)
Embeds Section

Choose whether to Add Video embeds in your content and also whether to add Images in your content. Adding Images provides 3 additional options for you:
- Image Source
- Featured Image*
- Images in Article
*Important Note: To post successfully in GoHighLevel (see the below section) you must generate a featured image for your post, otherwise the post process will fail.
Platform selection section
You can select a platform to post your article(s) to (provide you have integrated them already). You can schedule/post on:
- WordPress (Integration guide here)
- GoHighLevel (Integration guide here)
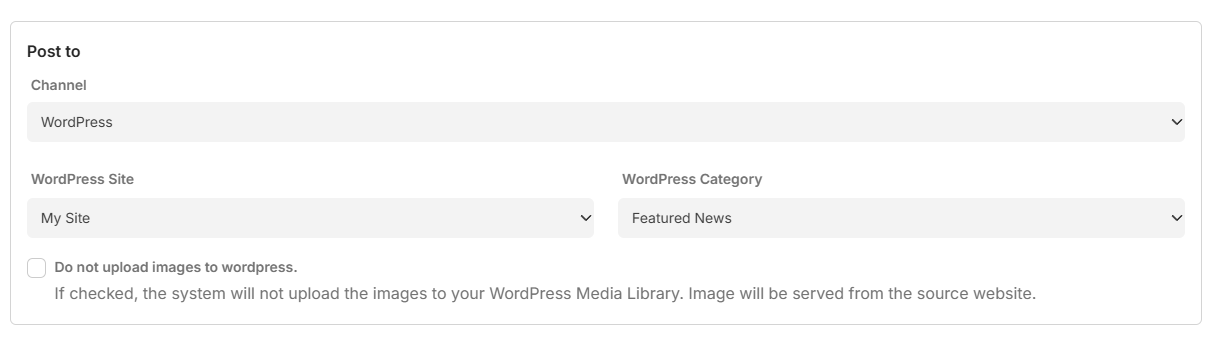
First select a channel:
- For WordPress
- Select Wordpress Site
- Select WordPress Category
- Do not upload images to wordpress. (if checked Image will be served from the source website.)
- For GoHighLevel
- Select Sub Account
- Select Blog Site (must have created one manually beforehand)
- Select Blog Category (must have created one manually beforehand)
- Select Blog Author (must have created one manually beforehand)
Publish type section

You may either Publish your article(s) immediately or on Schedule. If you select to "Publish On Schedule", a new datepicker field will appear for you to slect the future publishing date.
Total posts & Interval Section

In the final section you can type in how many total posts to be created and what the Post Creation Interval (in minutes) will.
When ready, press "Save Campaign" to save and begin your campaign.
You can also view the video version of the above tutorial here:

Smartlyq
1 month ago
The comments are closed.