Managing Your SmartlyQ Subscription
Keeping track of your subscription and making changes when necessary is easy with SmartlyQ.
This guide will walk you through the steps to view your subscription details, update your plan, and manage billing information.
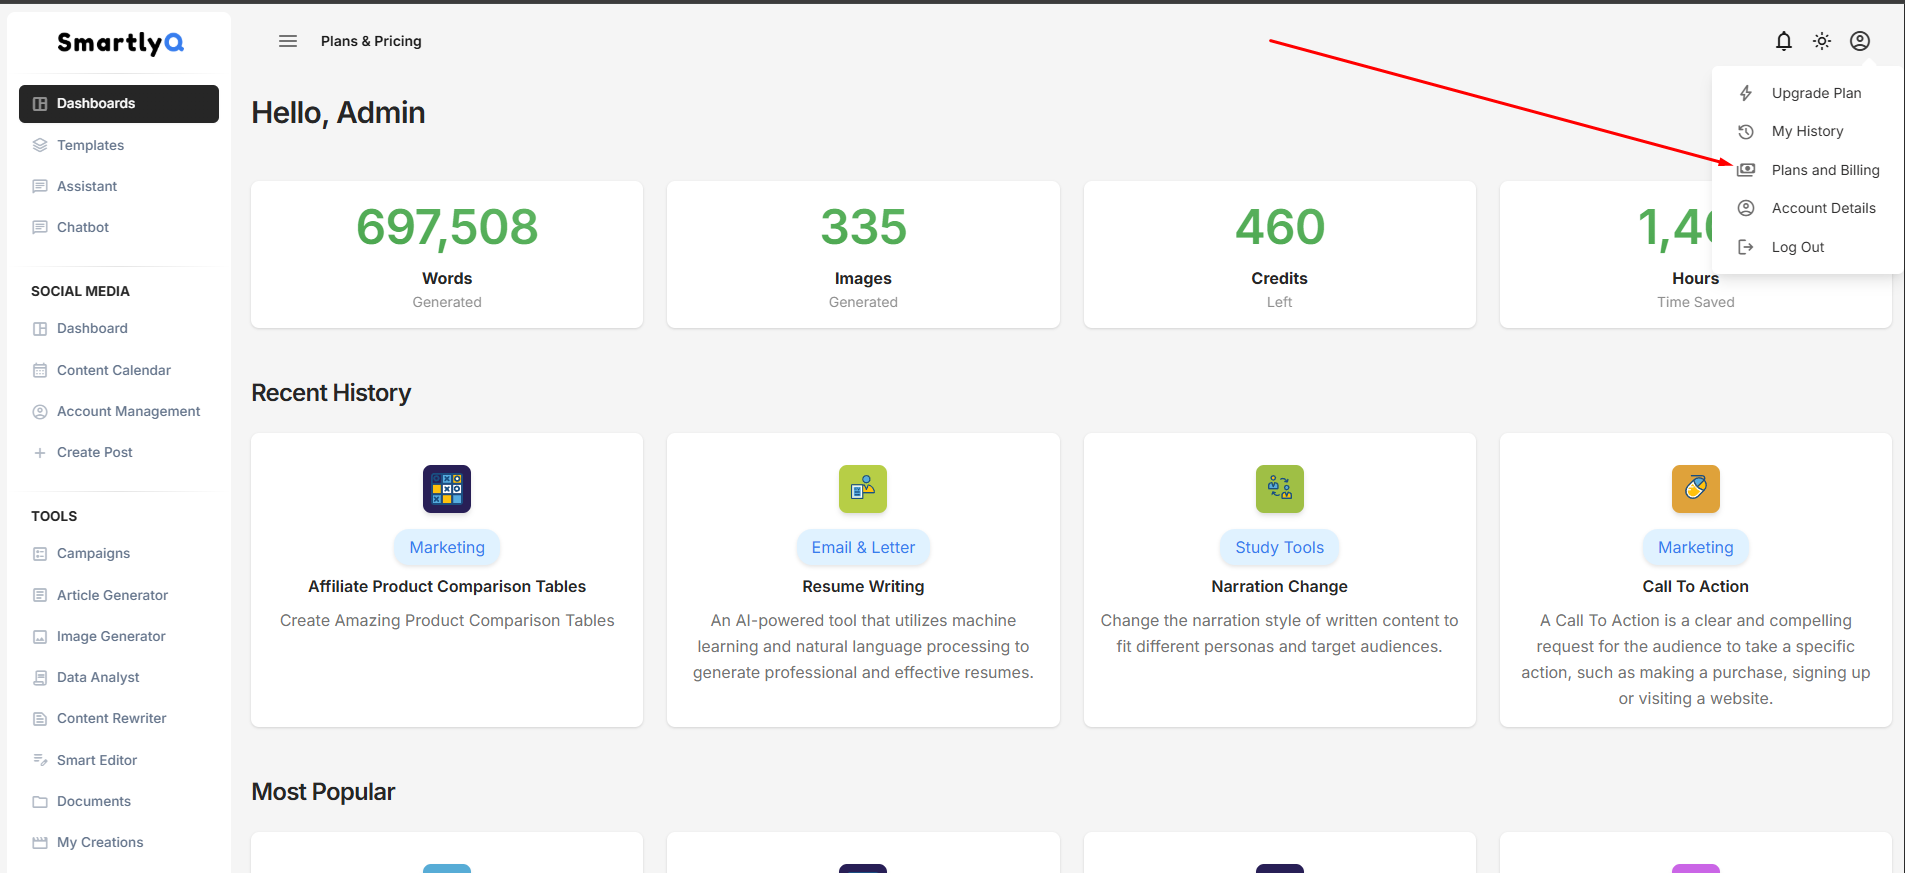
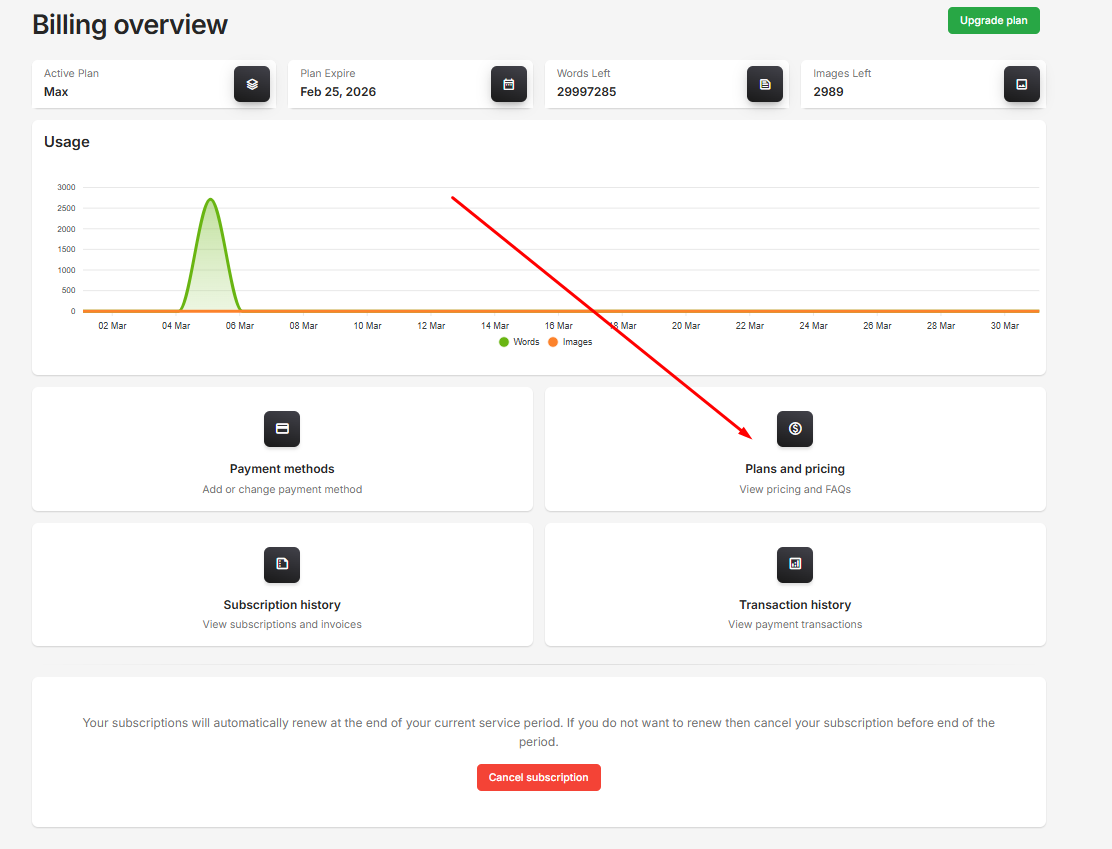
Step 1: Access the Billing Overview
Start by accessing the Plans and Billing option from the top right corner. This will take you to the Billing Overview, where you can manage your subscription.
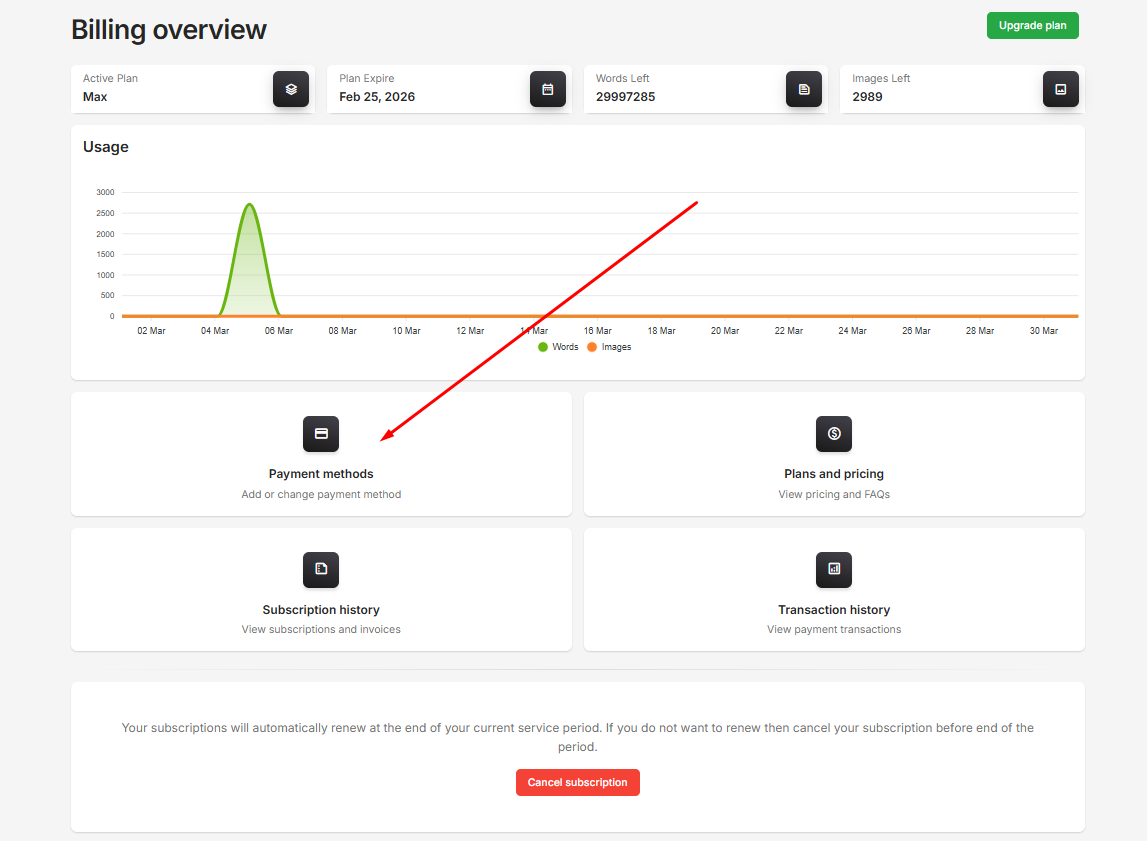
Step 2: View Your Current Subscription Plan
In the Billing Overview, you can see your active plan, including the expiration date, remaining word count, and image credits. This is your starting point for managing your subscription.
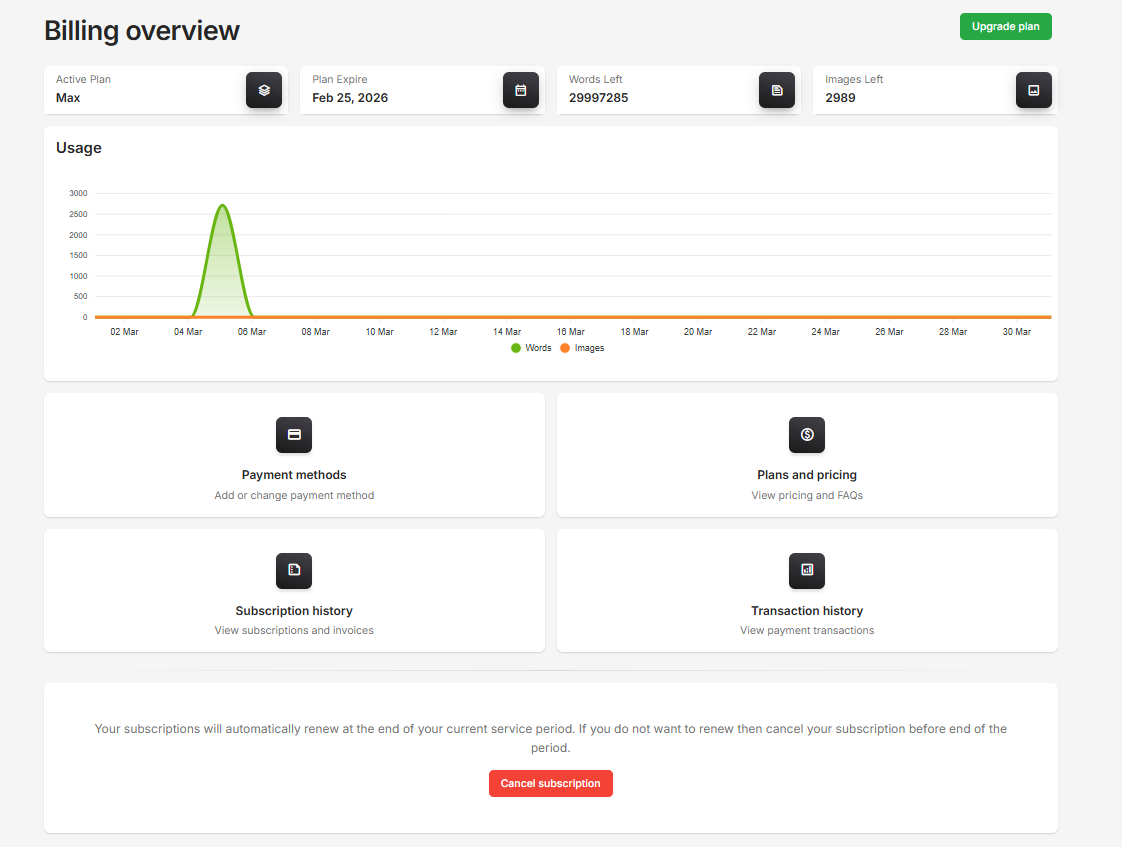
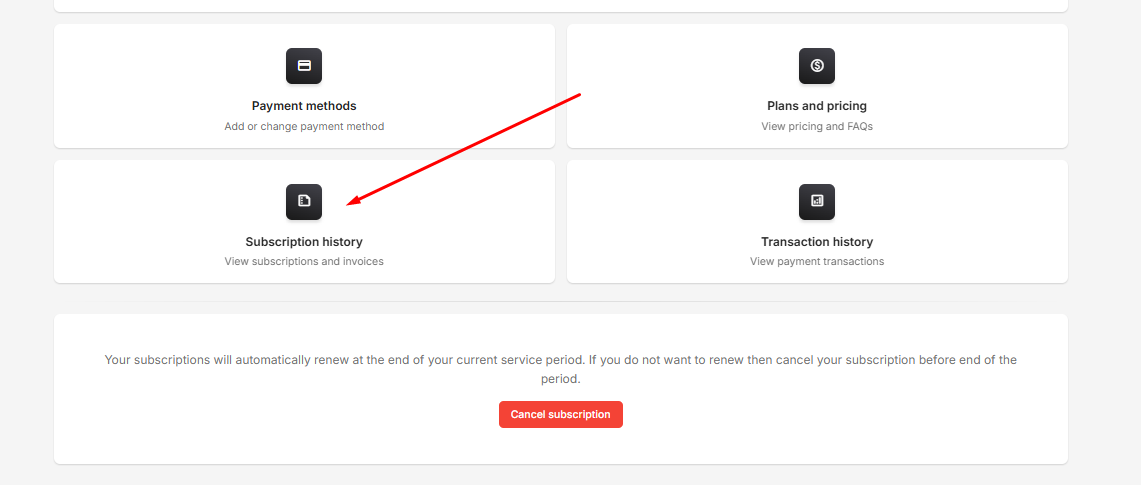
Step 3: Access Subscription History
To view the details of your subscription, including past plans, click on Subscription history. This section will show you the history of your subscriptions, including the status of each plan. You can cancel your subscription at any time without penalty!
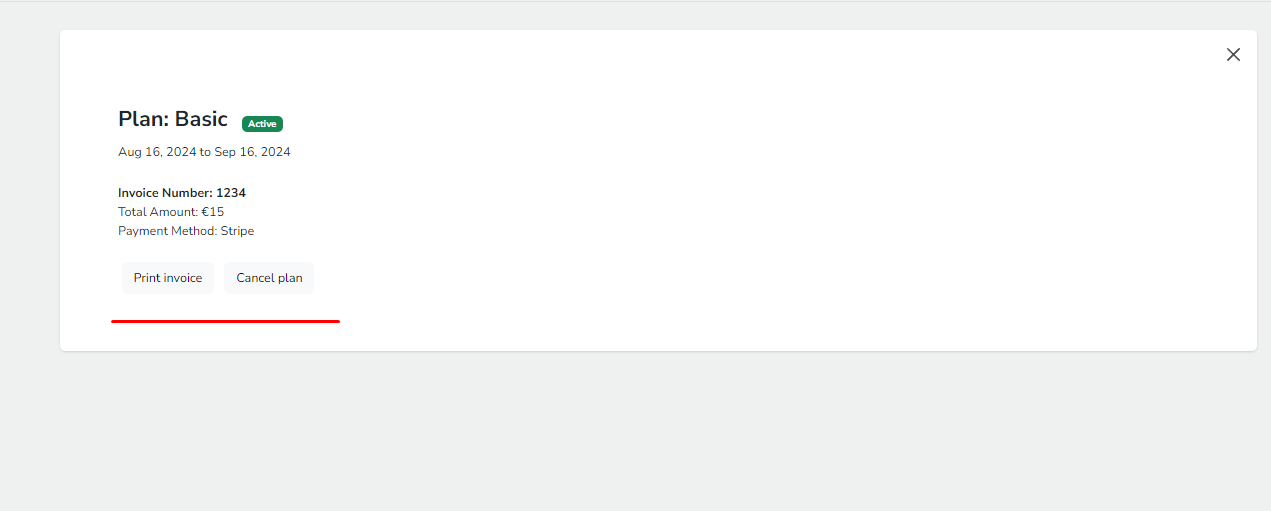
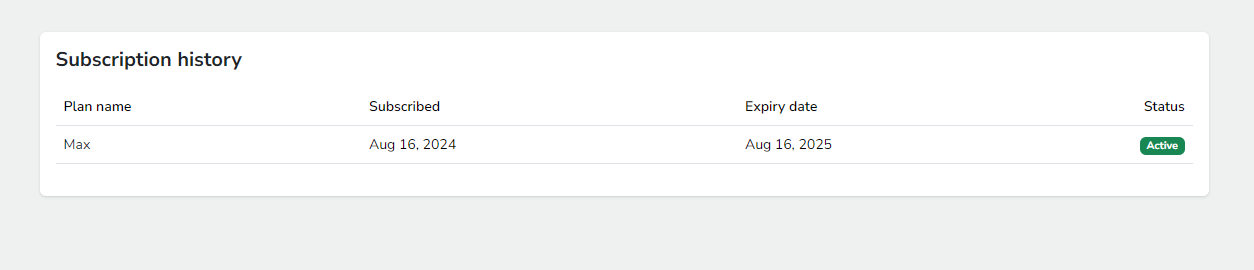
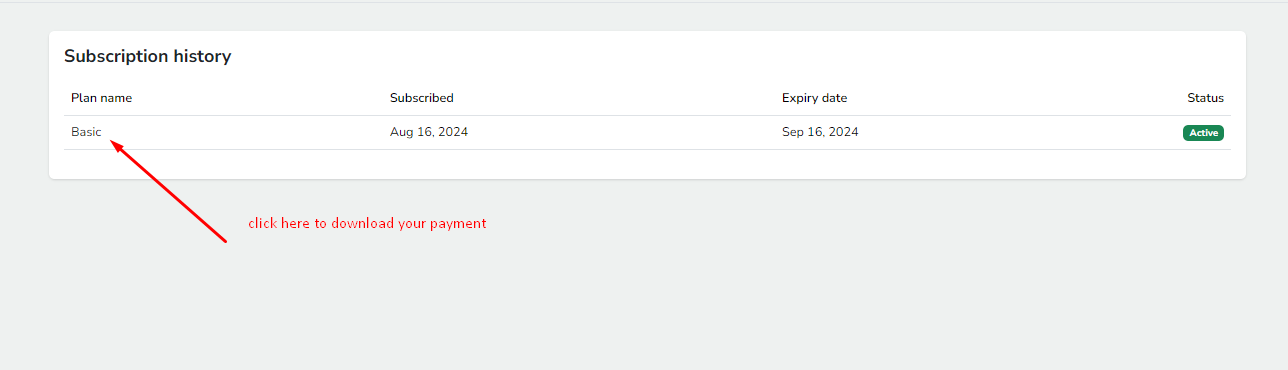
Step 4: Review Subscription Details
In the Subscription History, click on your current plan to view more details such as the start date, expiry date, and status. This is where you can review your plan’s specifics.

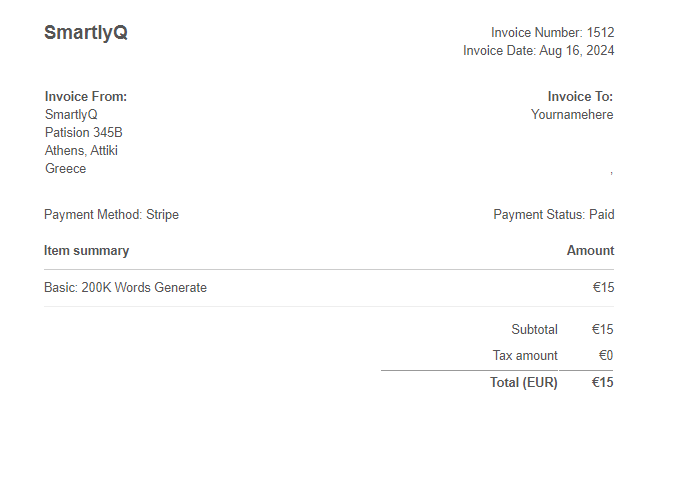
Step 5: Print Invoice or Cancel Subscription
After clicking on your plan, you will be presented with options to print the invoice or cancel the plan. Choose the Print invoice option if you need a record of your payment, or select Cancel plan if you wish to terminate your subscription.
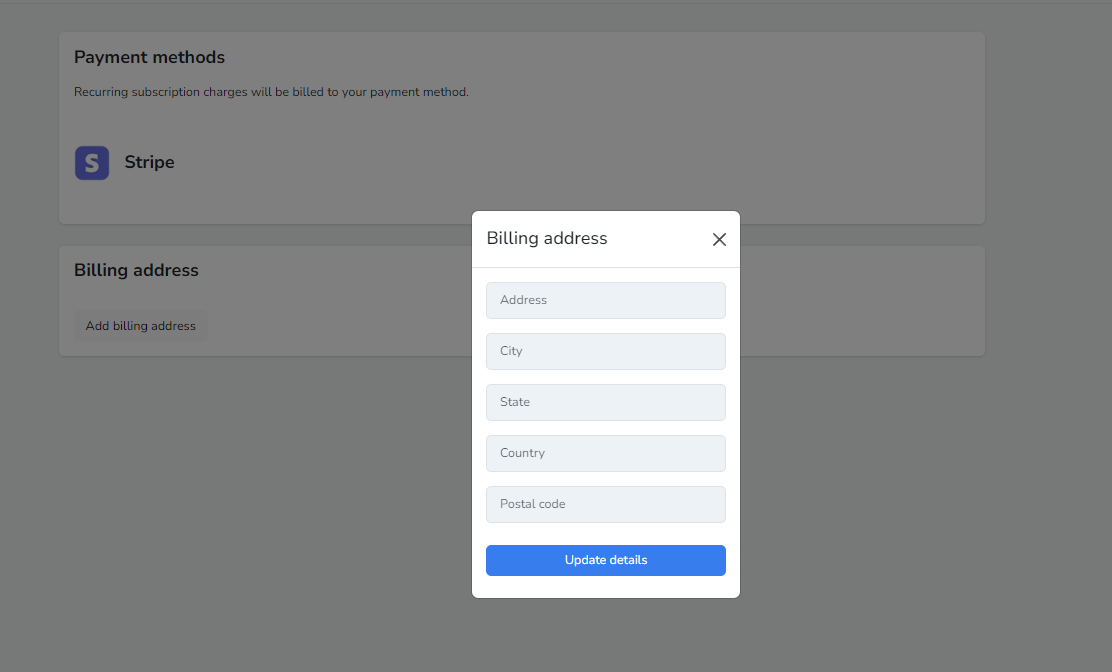
Step 6: Update Payment Methods
If you need to update your payment methods, go back to the Billing Overview and select Payment methods. This will allow you to add or change your billing information.
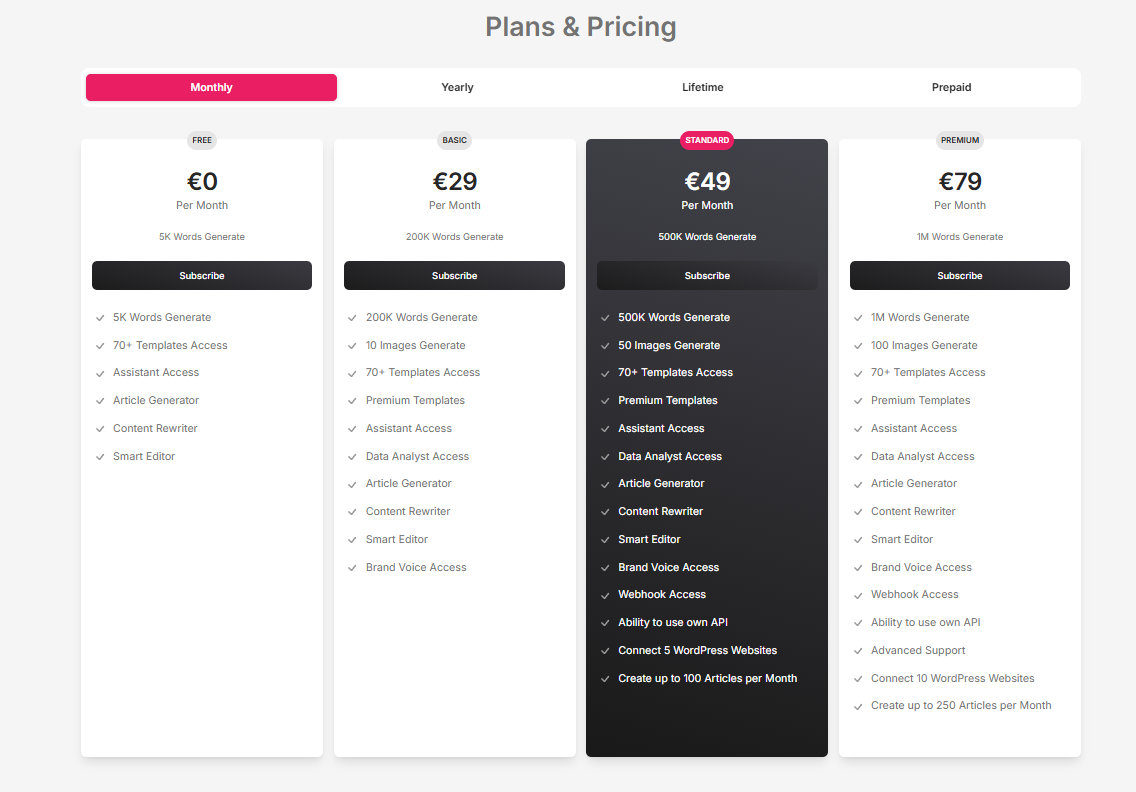
Step 7: View Plans and Pricing
If you wish to upgrade or downgrade your plan, navigate to Plans and pricing from the Billing Overview. This section will display all available plans with their respective prices and features.
Step 8: Confirm Subscription Changes
After selecting a new plan, you will receive a confirmation message indicating that your subscription plan has been successfully updated. Ensure you review the details before proceeding.
Step 9: Review Transaction History
Finally, to keep track of all your transactions, including past payments and any cancellations, visit the Transaction history section. This log provides a comprehensive overview of all your financial interactions with SmartlyQ.